How to Use Joint Compound

how to use joint compound

Joint Compound (AKA mud or drywall taping mud) is a tool that every dryliner should be able to use. In this article we explain exactly what jointing compound is and how to use it like a pro!

What is a Jointing Compound & What is Jointing Compound Used For?

Put simply, Jointing Compound is a white powder material, mixed with water, that is used for skim coating walls and ceilings.

It’s also often used as an alternative to traditional plastering to finish joints, corner beads, trims and fasteners.

Essentially, Joint Compound can help hide seams along walls leaving them ready for painting.

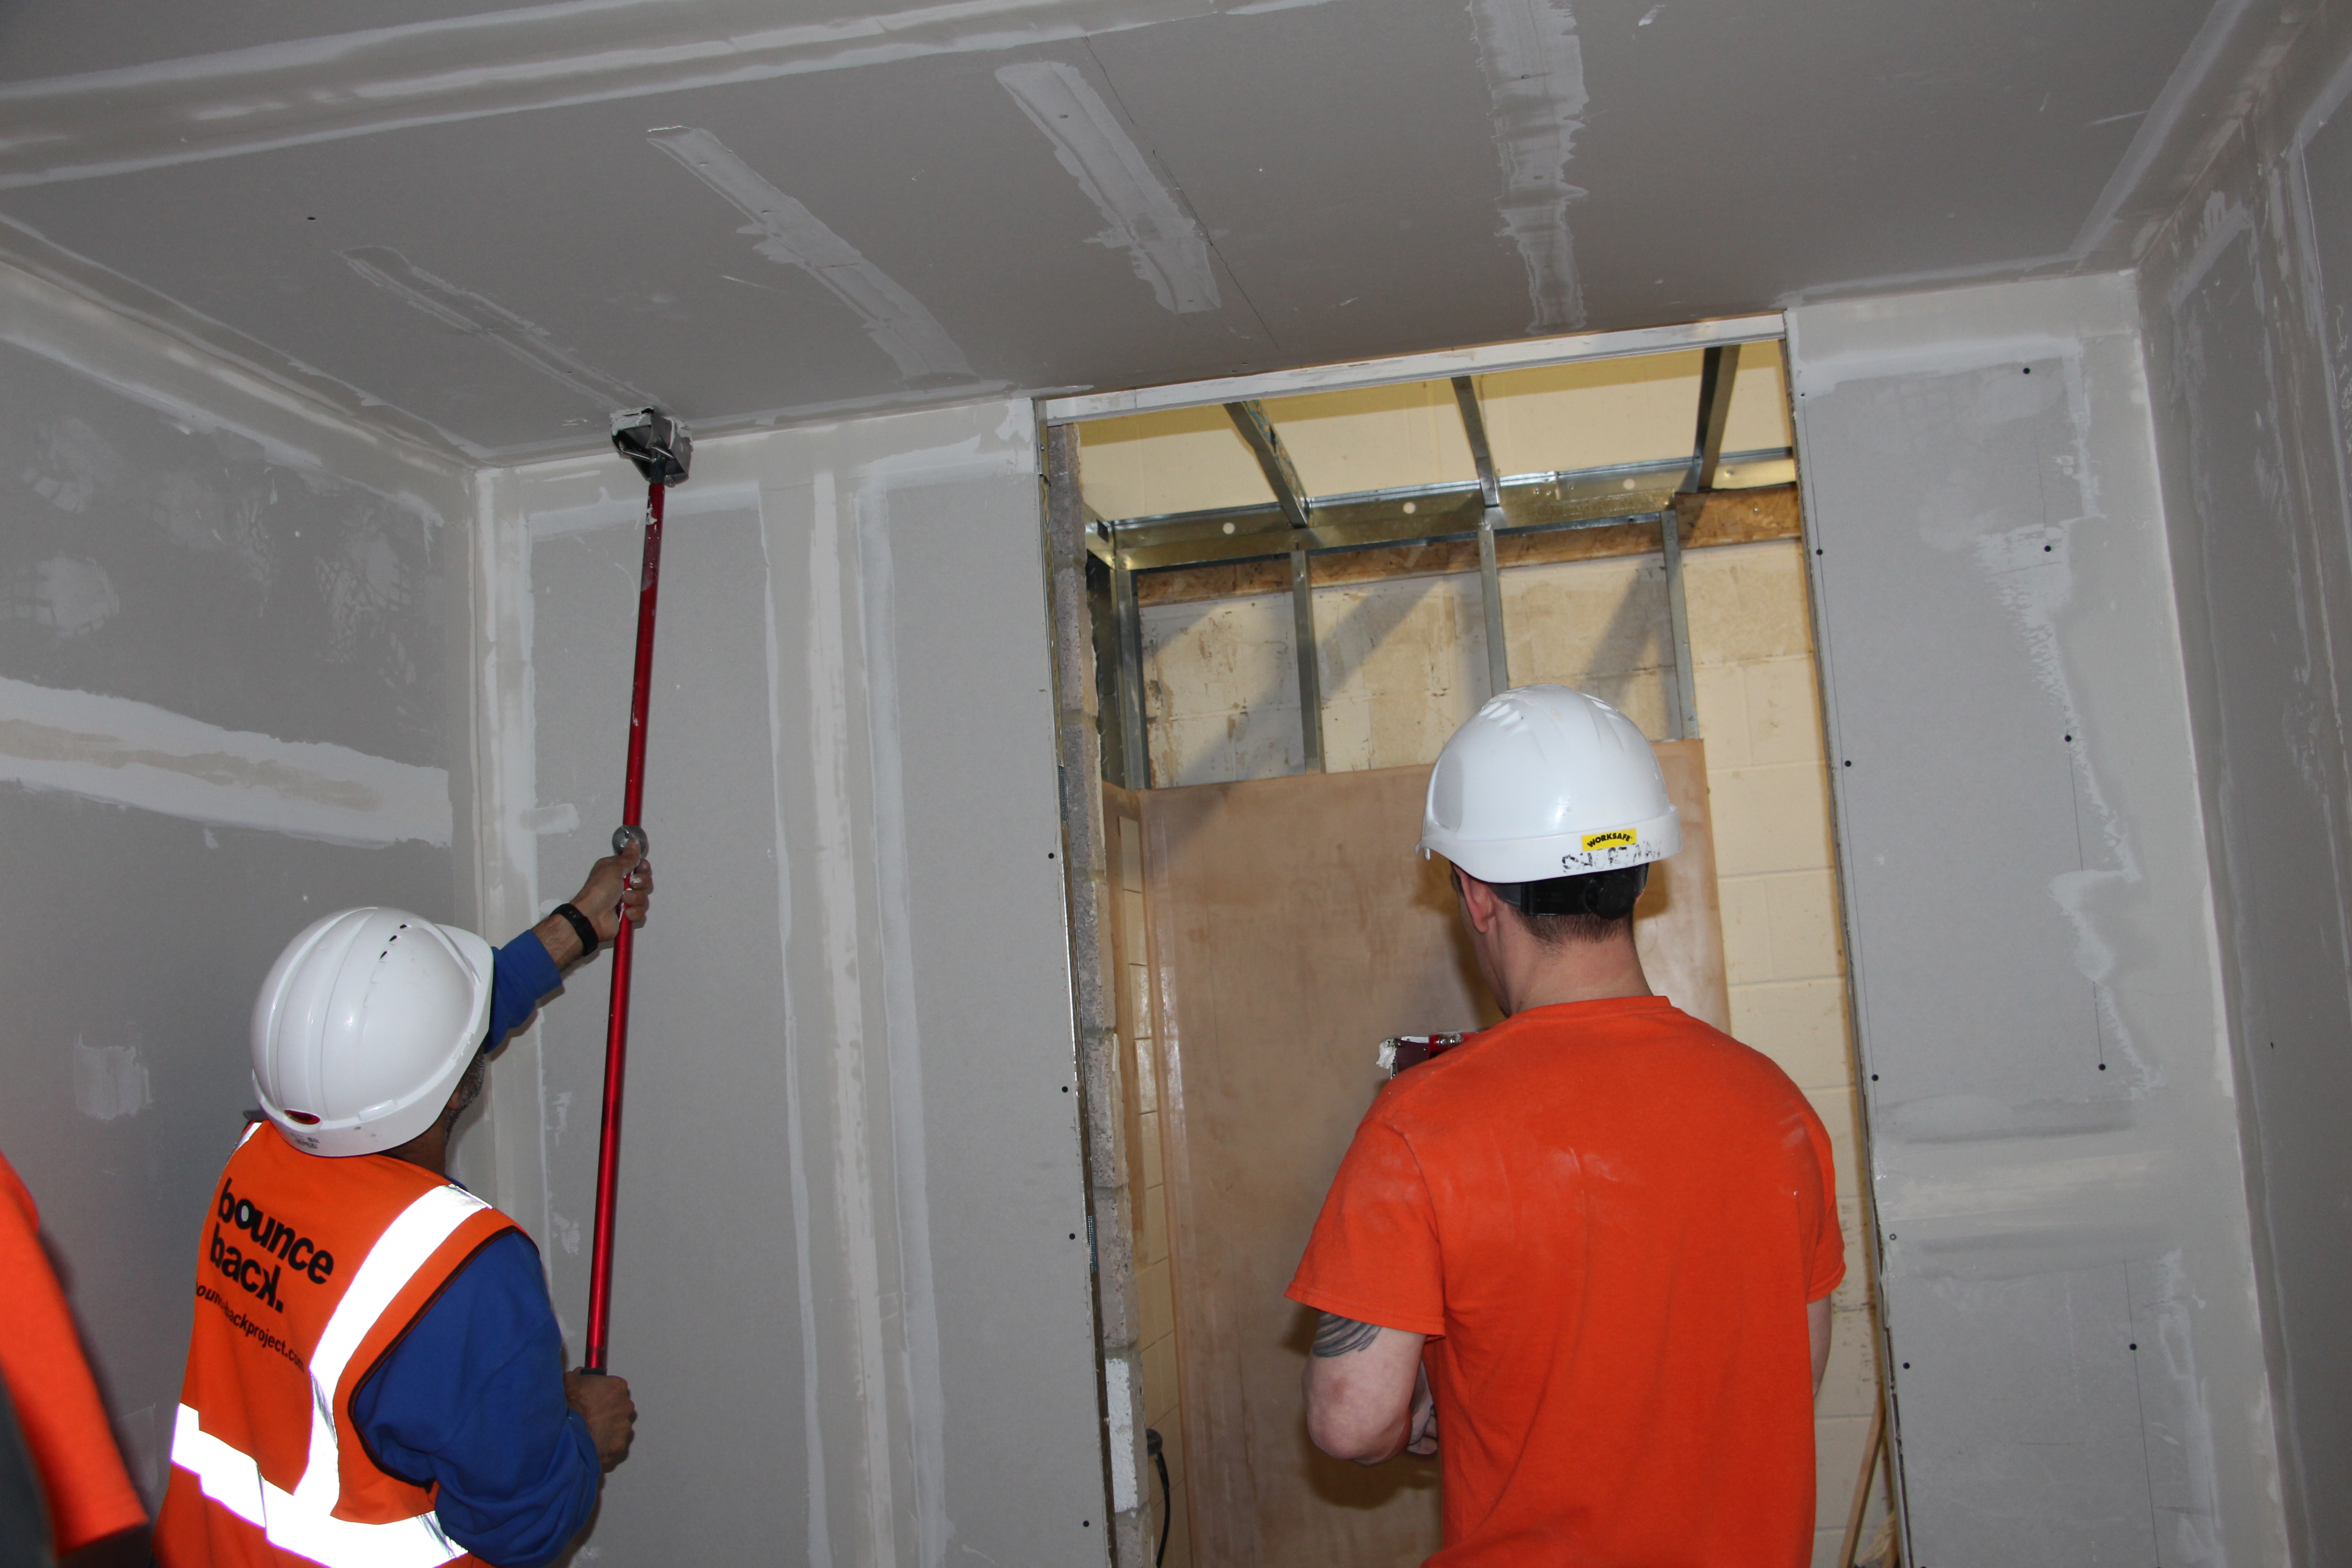
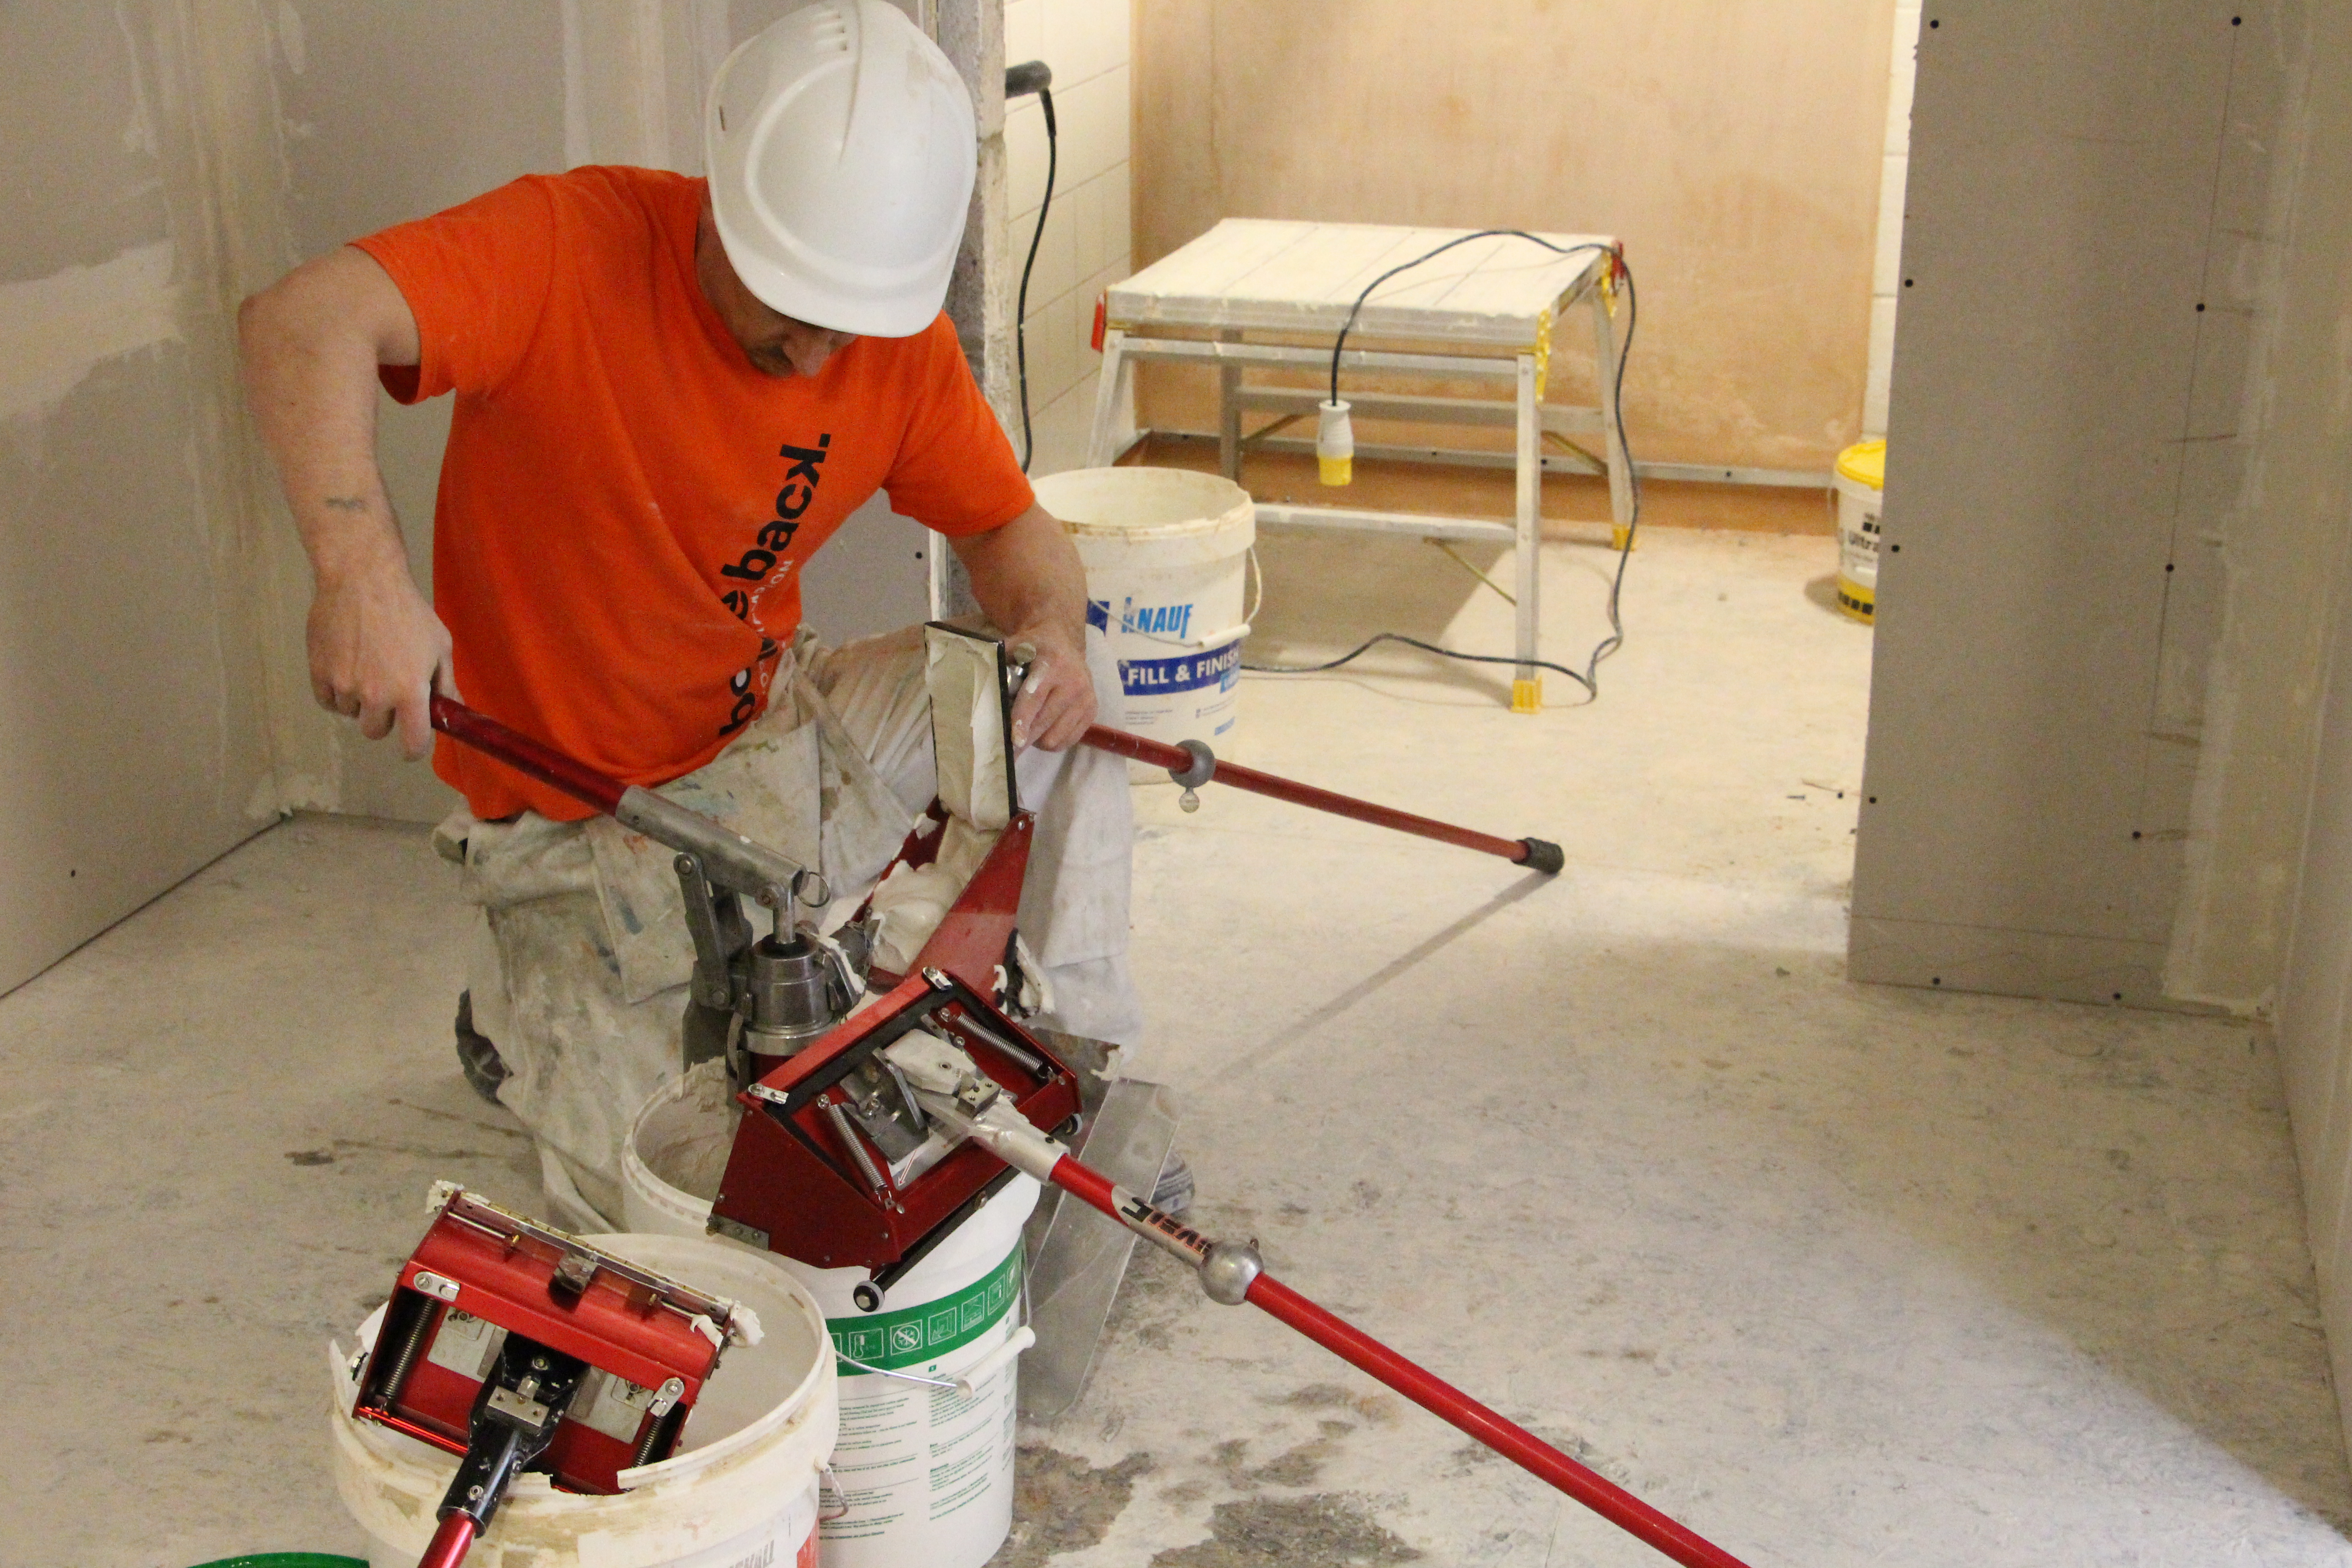
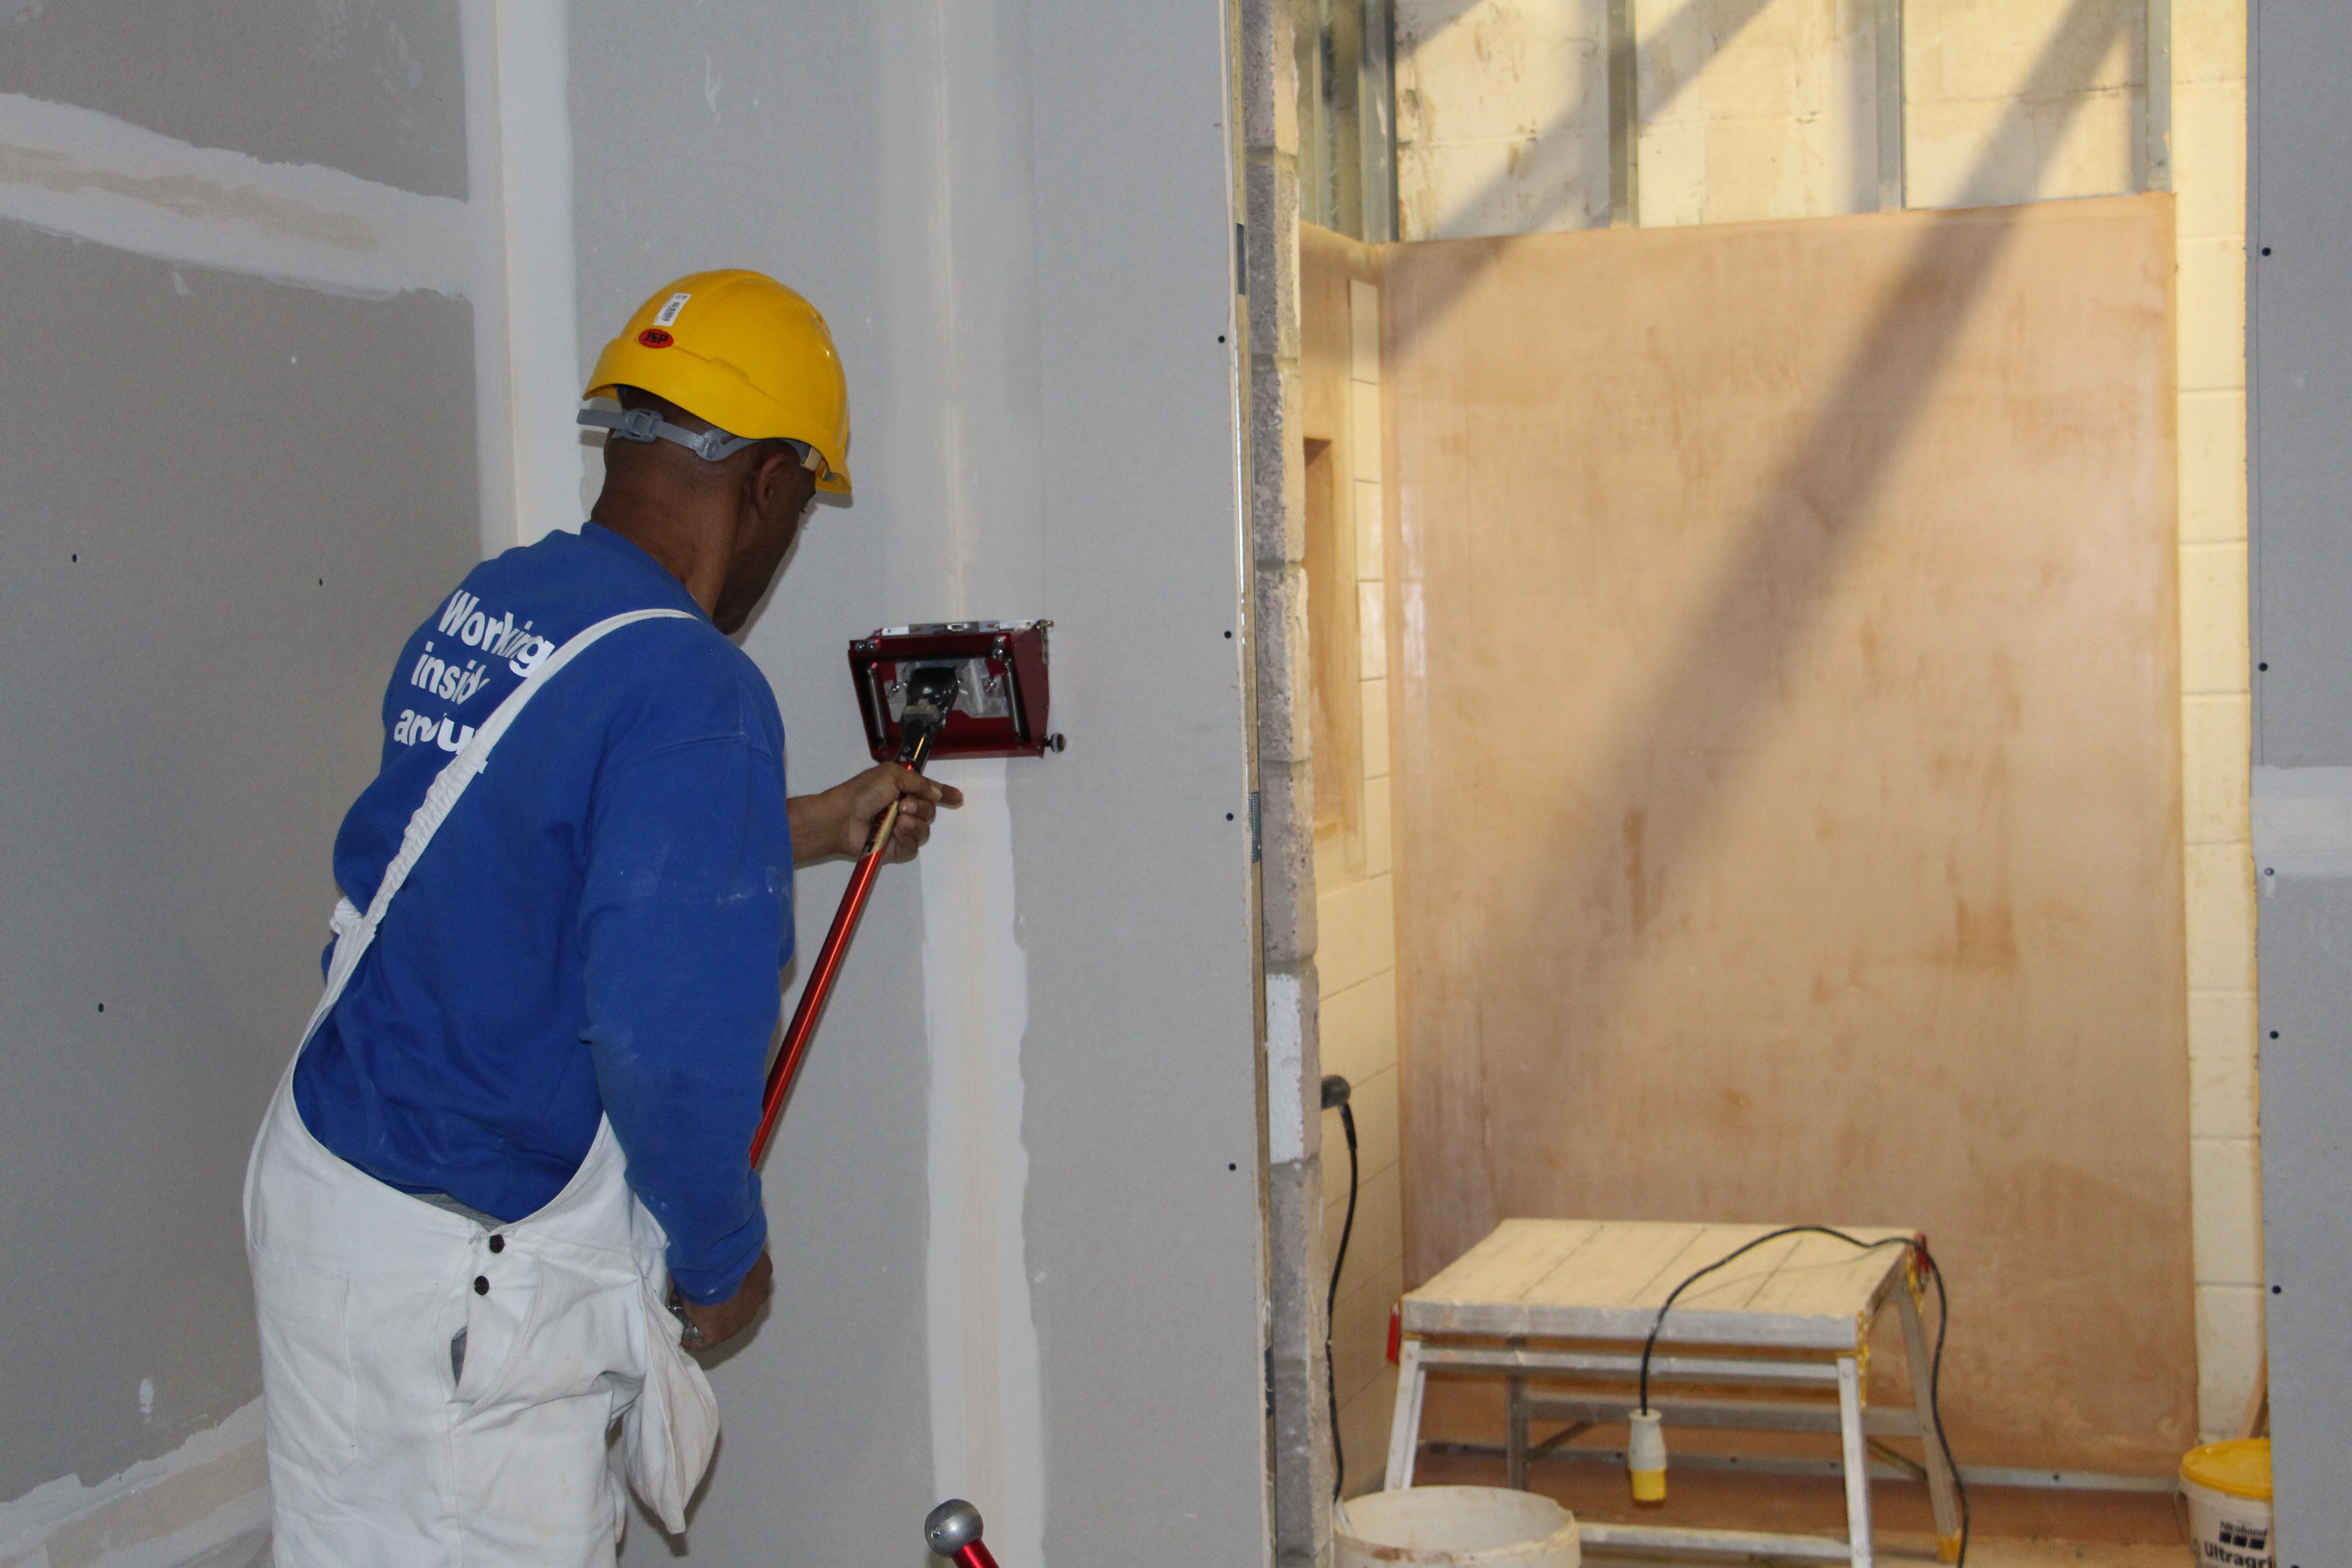
Jointing Compound is incredibly easy to apply, requiring only a small amount of effort when you’re using drywall tape alongside it.

It can be used to hide just about any type of seam along a wall, even corners where the walls meet.

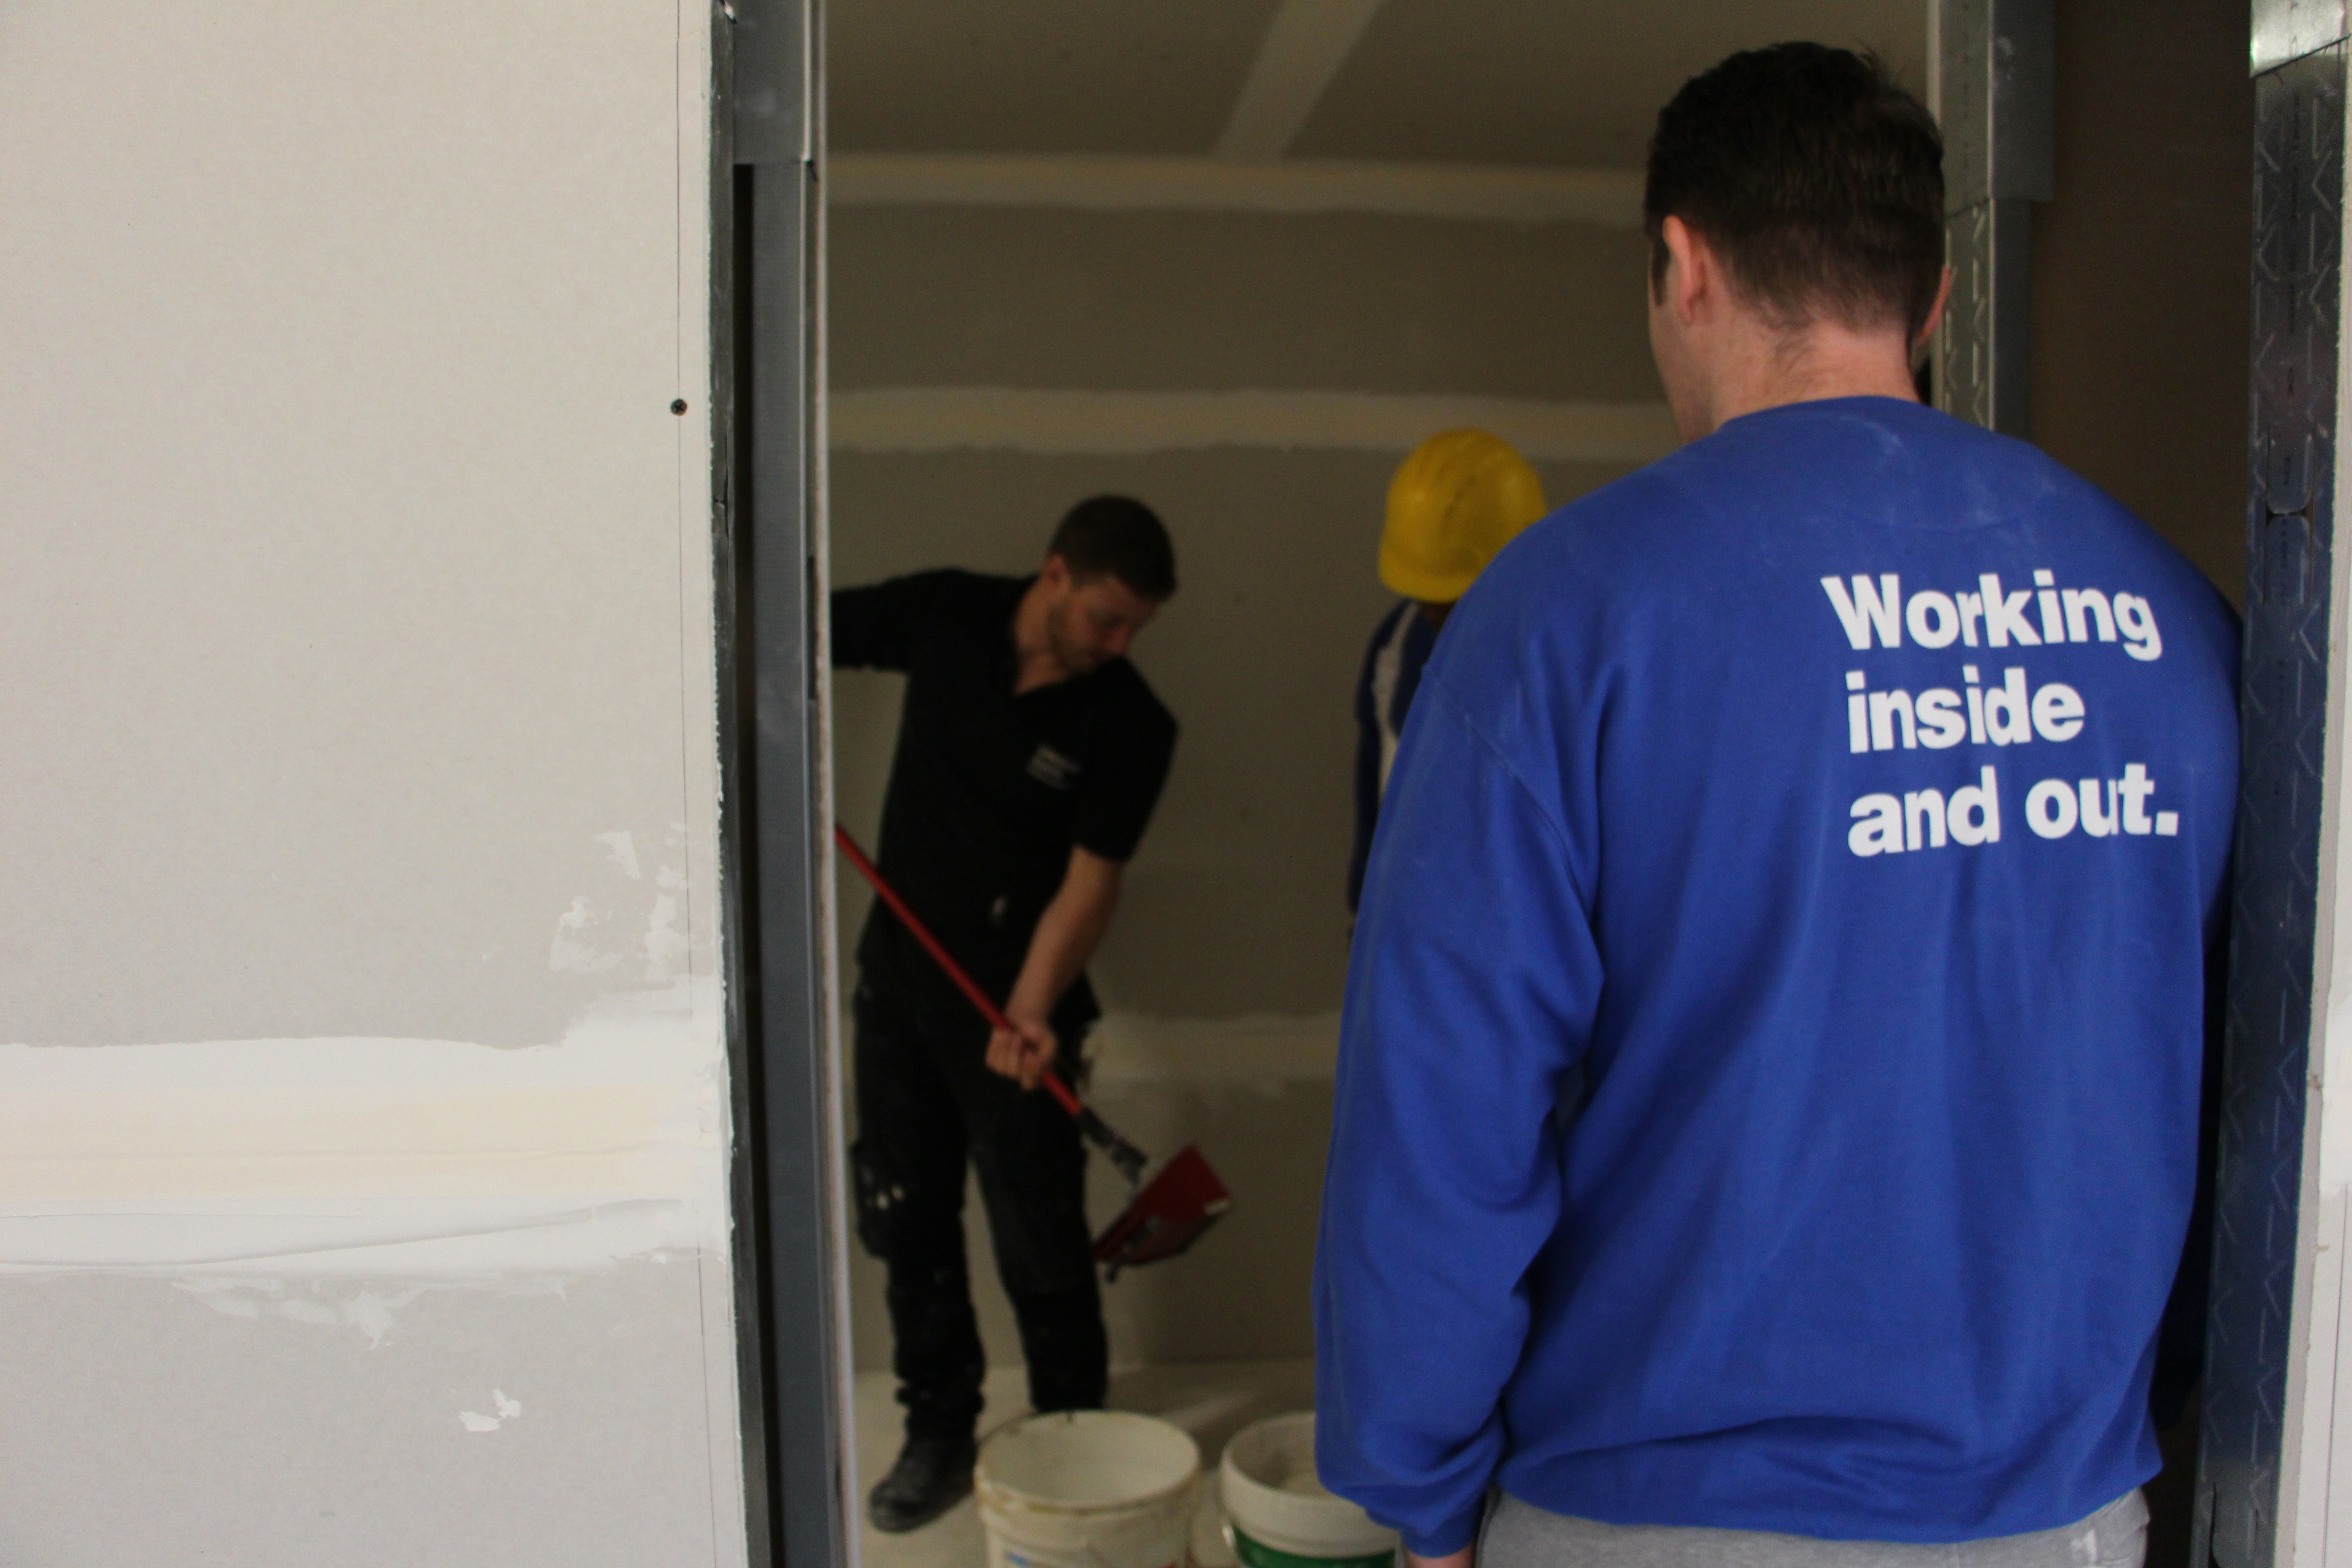
During the taping process, you will no doubt have to use joint compound when building or decorating.

If you’re a plasterer then joint compound will naturally be something you’re familiar with in your day to day life but, whether you’re an expert or a beginner, this article should help explain some of the key uses for Joint Compound and how best to use it.

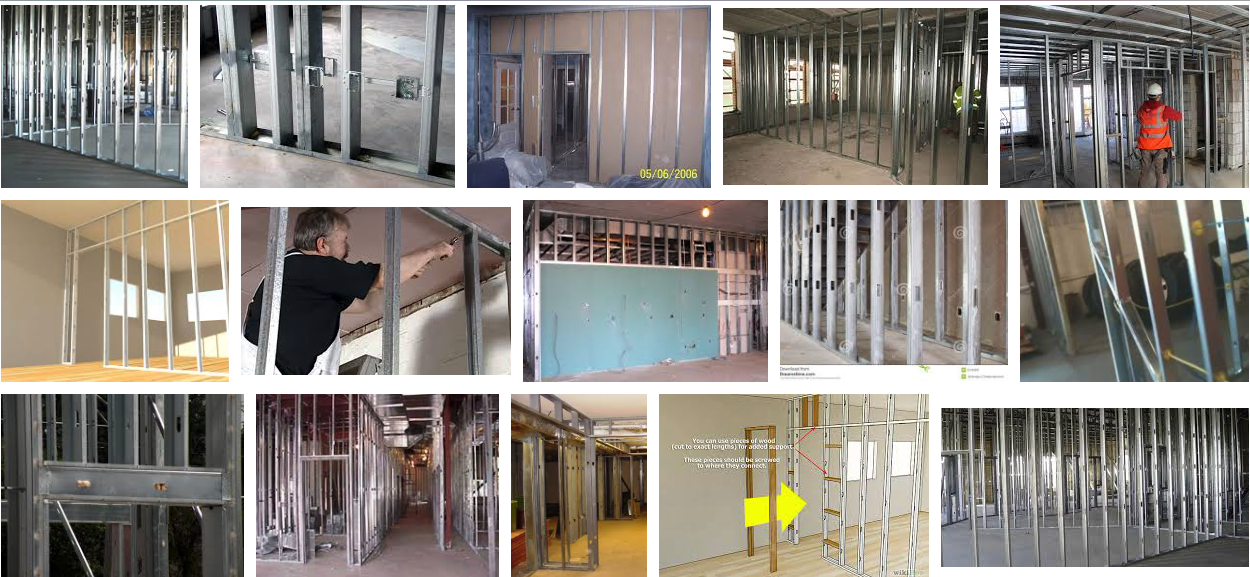
For example, asides from the previously mentioned uses, Joint Compound is commonly used in hanging drywall for new or remodelled homes.

This is because application is super simple, usually never more than just a few coats.
Joint compound can get rid of almost all blemishes from the surface of drywall including damage, fasteners, drywall tape, holes, bumps, tears, and other minor damage.

It can also be used to finish gypsum panel joints, corner bead, trim and fasteners, as well as skim coating.

what is joint compound

What Jointing Compound should I use?

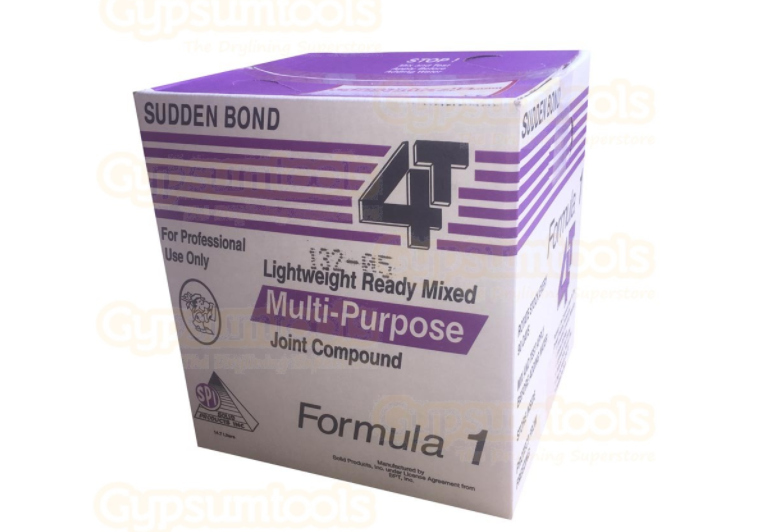
When using Jointing Compound, one of the first decisions you have to make is whether you choose Ready-mixed lightweight jointing compound or the powdered joint compound.

Whilst premixed can sometimes be slightly more expensive, it’s designed for fast application and easy maintenance. It can be more forgiving than its counterpart, can be used for as long a period of time as needed and does not dry up as badly.

Benefits of Premixed Jointing Compound?

We’ve already highlighted a few of the benefits of jointing compound, but let’s summarise the complete list of what makes premixed Jointing Compound so useful:

  • Save time – No water supply needed
  • Saves money – Get the job done quicker, so you can start the next one!
  • Saves effort – 30% lighter than traditional plaster
  • Enables an excellent finish – Less clean up required as there is less dust and mess

How do you mix joint compound?

Always read the label before mixing your Joint Compound and find out how much water you’re meant to use with the mixture.

Excessive water can dilute and ruin the compound whilst too little water will make the compound to thick and gloopy.

mixing paddle level 5

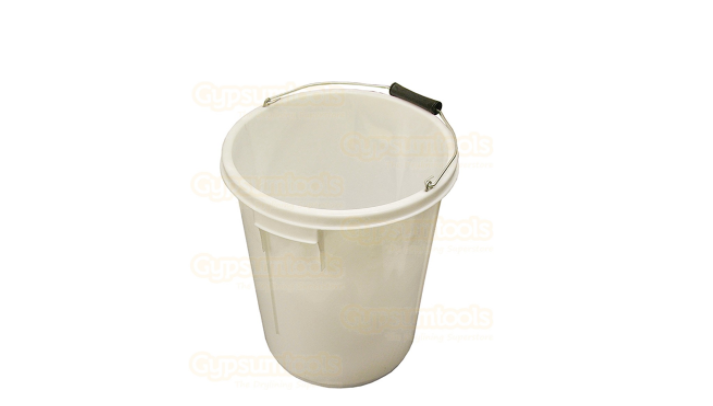
Don’t mix in a bucket that’s filled to the brim as it will splash out and go all over the place! Add 1 or 2 gallons of Joint Compound and place it into an empty bucket followed by a small amount of water. This allows you to add more if needed. Remember, you can’t take the water out once it’s poured in!

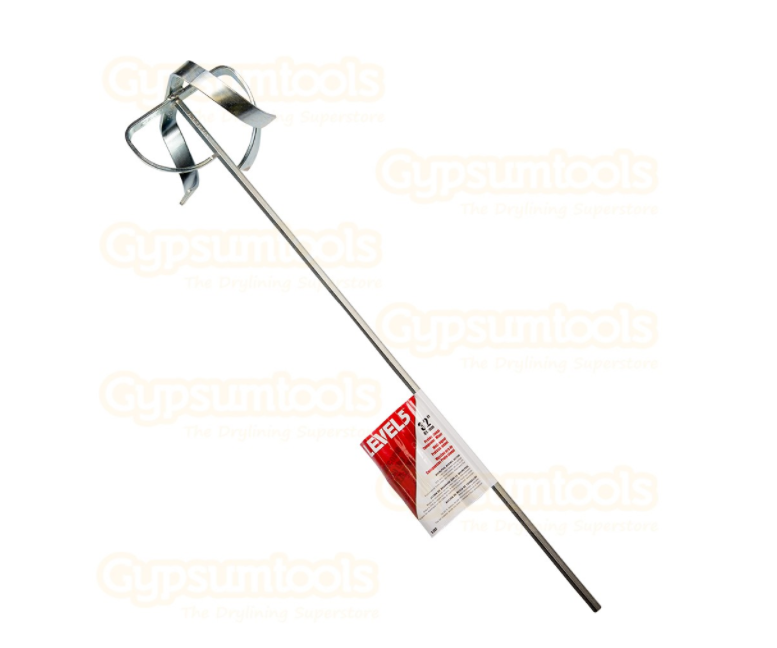
The best advice is to use a mixing paddle rather than by hand as it can be incredibly tiring and hard work. Make sure to hold the bucket tightly with your feet when using the paddle and you know you’re done when the compound is the same texture as warm cake icing.

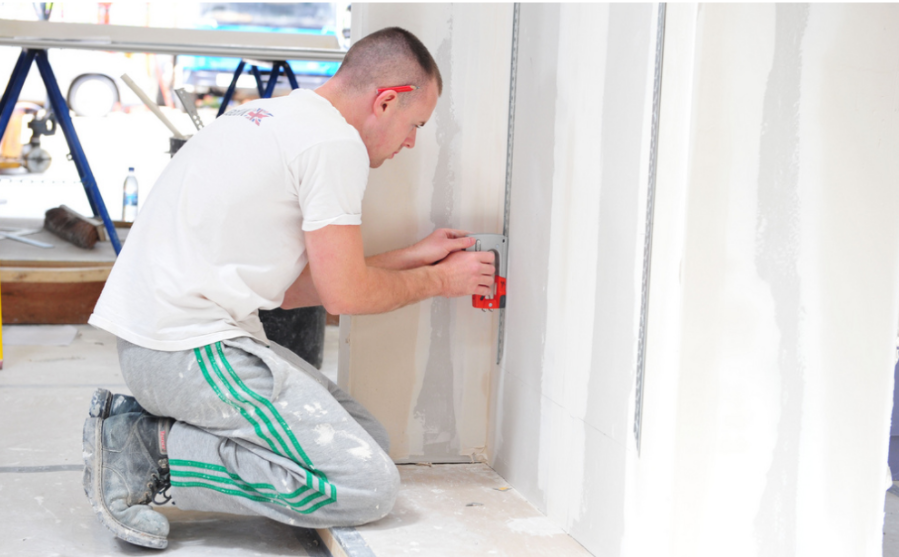
How to Use Jointing Compound?

Finishing drywall involves typically three to four days of work and a great deal of joint compound. The type of joint compound you use to smooth seams and cover nail holes will depend on the size of your room and your level of experience.

The entire process from taping to finishing the final coat can take four days, because of the drying times of the joint compound. Make sure you have allowed enough time to finish each step completely before starting the next.

Repairing Damaged Drywall

From the smallest, minor dents to large, major holes, there are several ways to fix damage to your drywall.

No matter how big or small a hole is, it’s something that needs fixing and you can’t simply paint over it straight away.

Whilst drywall is relatively simple to install and easy to repair, It’s also very easy to repair drywall badly and make your whole project look unprofessional.

Whilst most drywall repairs are simple, consisting of patching holes, filling dents, and embedding popped nails, some can be more complex. Here’s a basic lowdown on how to fix a drywall hole:

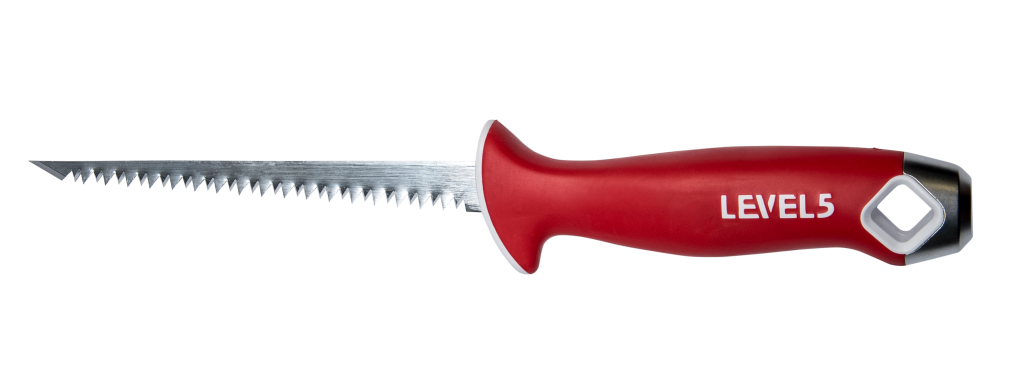
  • Remove the Affected Drywall – Use a framing square to mark a square around the damaged area & use a utility knife to score along the outline to remove the drywall square with damaged areas. Check for electrical cords and plumbing lines where you plan to make the cut.
  • Create a Drywall Patch – Use the detached piece as a guide to trace out an identical square of new drywall. Use a utility knife to cut out the slab of drywall making sure it is the same thickness as the drywall already present.
  • Install the Patch – Apply your joint compound around the edges of the patch and put it into place. Using a putty knife, add a layer of joint compound around the seams of the patch, making sure to fill every gap before leaving to dry for 24 hours.
  • Sand and Paint – Sand the joint compound until it is level with the rest of the drywall. Sometimes the compound can shrink or become uneven. If this is the case then you will need to apply another coat of compound. Once dry and sanded adequately, you can then finish up the job and make the drywall beautiful by adding a touch of paint!

For more information on Drylining, Plastering tips & tricks and much more, head on over to our blog

How to Install Gypwall Partition & Crimping vs Screwing

In this article we explain how to easily do metal stud framing and create wall partitions as well as discussing the benefits between using screws vs. metal stud crimpers.

How to install Gypwall partition

Gypframe studs are designed to interlock with each other so they can be extended. You should keep a minimum overlap of around 600mm when you are extending studs and you will need to fix the overlap with either gyprock wafer head screws or a stud interlocking tool.

On new concrete or screeded floors, consider adding a damp proof membrane between the channel and the floor to prevent the possibility of any corrosion happening on the floor channels.

Determine the wall position and make allowances for openings. Mark wall positions and doorways. For best practice, a bootleg detail can be installed.

At doorways, allowances for a timber sub-frame should be made. Alternatively, Gypframe studs and channels can provide a fixing for door casings.

Ensure studs are cut through a solid part of the stud and not through a section of it that has a cut out.

Locate the stud against the masonry wall installing proprietary fixings at 600mm centres and for wider gypframe studs, two rows of staggered fixings at 300mm centres. Locate further studs into position at 600mm centres.

Gypframe studs within the main run of wall are not fixed into position this allows adjustment during boarding of the partition.

At doorways, openings and external corners, the studs can be fixed in place with either a crimping tool or wafer head drywall screws.

Crimping vs screwing

metal stud crimper

When it comes to fixing metal frames together, there are two main methods: Using screws and a drill or using a crimping tool.

Screws are the traditional choice but some would argue that using a crimping tool is much quicker, easier and efficient as you are using less materials. It also eliminates the screw heads that can cause bumps/cracks within the wallboard.

Screws are often the choice for when it comes to exterior walls or interior bearing walls where the crimping tool’s is often disregarded for being insecure and the solidity and reliability of screws is favoured.

In some extreme cases it may be recommended to use both methods of both screws and a crimp. However, make sure you don’t put the screw through the crimped hole! You want to put the screw into a fresh part of the stud and track adjacent to the crimp itself. That way, you are getting two fastenings on the metal.

stud drill 2

Completing Your Metal Stud Framing

Gypframe 72mm floor and ceiling drag is used for the head and sill of openings. The channel is cut 150mm wider than the opening at either sides.

This dimension is cut with tin snips and cloaked at either end of the doorway and fixed in place with either a crimping tool or gyproc wafer head drywall screws

Bear in mind that gyproc drywall screws are designed for fixing gyproc plasterboards onto the partition and are not designed for metal to metal fixings due to the size of the bugle head which sticks out on the surface. This can cause bursting of the plasterboard when boarding takes place.

For heavier studs and channels, gyproc wafer head jackpoint screws are used. This type of screw has a drill bit tip which pre drills before self tapping into heavier gage studs.

Apply gyproc sealant to both sides of the frame perimeter to provide optimum acoustic performance

Cut the gyproc 99fc 50 stud to length and simply flatten the flange on either side to allow a flush surface fixing with wafer head drywall screws.

Gyproc plasterboard joints are staggered on either side of the partition by 600mm so when you start boarding with a full board width of gyproc plasterboard, this will be staggered by starting with a 600mm wide gyproc wallboard on the opposite side.

Gyproc plasterboards are fixed at 300mm centres, with the appropriate length of gyproc drywall screw.

To determine the length of the gyproc drywall screw required add 10mm onto the thickness of the plasterboard and us the next screw size up to determine which drywall screw length to use.

Ensure you do not penetrate the board surface with gyproc drywall screws!

Where gyproc plasterboards have been raised off the floor to prevent the ingress of water during the construction, they should be filled with a proprietary gypsum based compound to maintain the best sound installation possible from the partition.

To lift the plasterboard off the floor you will need a versatile foot lifter to keep your hands free during the process.

To buy metal stud crimpers from leading brands head on over to https://www.gypsumtools.com/ or for more handy info on creating wall partitions using metal stud crimpers then check out this handy video

A Step-by-Step Guide to Mixing Plaster

If you’re wondering how to mix plaster by hand, how to mix plaster for wall repair or how to make plaster for walls, then you’ve come to the right place! With the correct information and technique, mixing plaster can be simple but mixing it to the correct consistency is hugely important for getting the best results.

Plaster can be crucial for giving walls a smooth and flat finish so you can go ahead and paint them easily. Always remember: start by adding the plaster to the water, never the other way around!

Why? Well how much plaster you will mix is always dependent how much water you start with. Usually, around half a bag of plaster is the most you can apply before the plaster sets if you’re new to the mixing game.

However, always bear in mind that plaster is relatively inexpensive and so it makes sense to mix too much rather than not enough. Try not to mix the plaster up too thickly as this can make it hard to keep plaster flat and to keep it to the correct thickness.

You will want to be spread the plaster as thinly as possible and keep it very flat. A nice thin mix will always produce the best results. One potential pitfall is that the wetter the plaster is, the harder it can be for you to control.

Step 1 – Pour Water Into the Bucket

Pour fresh water into a completely clean bucket that should be more than big enough to hold the complete mix and it should also allow space for the mixing to take place.

Screen Shot 2017-09-27 at 11.04.00

Step 2: Add the plaster to the mix

Next, pour half a bag of finishing plaster into the bucket. The composition should be roughly 50/50.

Add plaster (but not all of it). The plaster will sink and a good rule of thumb is to add just enough in the first instance that it begins to heap on the surface of the water.
You should be adding approximately half of your total amount of plaster in the first instance.

Step 3: Mix the Plaster

Next up, you will want to immediately take your drill and paddle to start mixing up the contents of the bucket before you get any lumps that you may struggle to mix out. If you haven’t got a mixer drill, don’t fear! A bit of wood can be used to mix the plaster as long as it’s fairly smooth.

Make sure you complete this step thoroughly and smooth out any parts that are still dry or lumpy. If you’re using a drill, make sure to have it set on a very slow speed so as to stop any plaster splashing up out of the mixing bucket.

Swirl in both directions lifting the paddle up and down making sure to get into every nook and cranny of the bucket.

Screen Shot 2017-09-27 at 11.04.31

Step 4: Add more Plaster into the mix

After you have mixed in the first load of plaster to a relatively smooth consistency, start to add more slowly as you mix. Continue to plunge in the mixer drill working out all of the major lumps.

Repeat this process trying not to add too much too quickly.

Step 5: Check plaster consistency

As you near to the finished mix you’re looking for a smooth, almost creamy consistency. If it’s still too watery then simply add more plaster a bit at a time until it feels right.

There is no ‘perfect’ in the consistency of plaster but in general, if you stick a small piece of wood in the mix it should be able to stand upright. Again, add water or plaster to adjust the consistency but try and avoid repeating this step too often. As with everything, knowing how to get this right straight away will come with time and practice.

Step 6: Clean your equipment!

Wash the equipment immediately after use. As tempting as it may be after completing a long and grueling job, never let plaster dry on your equipment as it can be incredibly difficult to remove and can ultimately destroy your tools!

Simply use a wet paint brush to get off the plaster. Note: On a second mix you will want to be aware that any contamination from previous mixes can make your plaster set too quickly and therefore be unusable.

You usually have around 45 minutes to use the finished plaster before it becomes obsolete depending on the temperature and conditions you are in so don’t hang around!

For more plastering tips check out this handy article.

The Best Drywall Knife for Cutting Drywall

Plaster Wall Repair

When it comes to cutting drywall, there are a number of different knives you can use to get the job done each with their own pros and cons. In this article we take a look at each of those options and determine how best to efficiently and quickly cut drywall.

There are other tools that you can use cut drywall such as:

  • Drywall saw
  • Drywall keyhole saw
  • Drywall rasp
  • Drywall tee square
  • Sheetrock saws
  • Circle cutter
  • Drywall router

…however today we’re looking at the best knives available on the market for cutting drywall.

Quick tip: Make sure you take time before you start any project to measure and purchase drywall panels to reduce the amount of cutting needed. Always cut the drywall panel accurately to length and make sure to use full sheets whenever possible.

The most standard cut you will do is the straight cut. This is easily completed with a utility knife..

L5100

Cut Drywall with Utility Knife

Wondering how to cut drywall with a utility knife? It’s super easy. Simply score the drywall with the utility knife by applying a bit of pressure to the knife along the line in which you wish to cut. Then simply snap the back of the drywall along the line you have scored using the knife to help you finish it off if needed. Sorted!

The Best Utility Knife to Cut Drywall

When looking for the best drywall knife brand there’s a number of factors to consider. Size: what’s the best utility knife size? Durability: how much cutting can it take before it needs replacing! Price: will it break the bank or am I paying for something that I don’t really need?

Here is a breakdown of a couple of the best utility knives you can get right now and why they’re so great:

Irwin Drywall Fixed Blade Knife – Perfect for drywall cutting applications and it’s slim nose allows the tool to move beautifully when scoring drywall. It can withstand incredibly dusty conditions that other tools simply cannot. Not only is it lightweight and robust, the Irwin Drywall fixed blade has a half turn thumbscrew for tool-free access and trigger grip for cutting whilst on the pull.

Hultafors UK-Z Retractable Utility Knife – Ergonomically designed for top quality levels of comfort and safety, this knife is durable and sturdy. The Hulfators UK-Z Retractable Utility Knife has very few moving parts making cleaning and changing blades super easy! It also has an angled design, durable zinc housing with screw wheel making it very easy to open. Handy!

Marshalltown Utility Knife – The Marshalltown utility Knife with Soft Grip has push button blade release ability, butterfly storage that holds five extra blades and a durasoft handle for increased comfort.

Marshalltown Utility Knife 9mm Soft Grip Break Off Blade – Comes with two extra 9mm/13 point blades stored inside the handle. The blades on this particular knife lock in position for even more accurate scoring.

Kraft Stainless Steel Jointing Taping Knife – Comes with a strong one-piece blade and handle and the blade is tapered and non-rust.

The Best Utility Knife on the Market


utility knife level 5

Level 5 Soft-Grip Professional Stainless Steel Taping Knife – Having a wider, thicker and stronger blade back than competitive models, the Level 5 Soft-Grip Professional Stainless Steel Taping Knife is also incredibly lightweight with it’s soft-grip handle. Not only this but the unique, ergonomic design helps to reduce fatigue!

You can pre-order the Level 5 Soft-Grip Professional Carbon Steel Putty/Finishing Knife along with a whole new range of top quality Level 5 Tools from 1st October 2017. Call to order on: 08456 254 321 or contact us online.

Level 5 hand tools have been built with 20+ years of feedback from professional finishers in the industry.

They are incredibly robust with industry leading designs and high-quality materials and workmanship. Level 5 Tools will always exceed any expectations on your drywall job!

Gypsumtools & FATE Partnership


FAte logo

We are happy to announce our partnership with the Finishing and Associated Trades Equity, powered by social media FATE realised an opportunity to help the people of the construction industry. Director Graham Helm, further aiding the subcontractor within the Drylining and Plastering industry, reached out to Gypsumtools to be a partner as a result FATE members now have advantages when shopping with Gypsumtoools.

All FATE members are entitled to an 8% discount when shopping with Gypsumtools, online, over the phone or at the trade counter based in Leicester, throughout their 12 months membership.

When shopping online with Gypsumtools, the drylining and plastering superstore we encourage you to register with us and input your FATE membership number, this will allow you to successfully be awarded the discount. When approaching the checkout, you will be asked to input your discount code that will be announced monthly via the FATE Forum. When shopping at our Trade counter, be sure to bring with you your membership card and when shopping over the phone just have your membership number handy.

You will also be awarded a 5% discount on all materials including compound, scrim tape, filler and more. You will even be awarded discount when hiring taping tools from Gypsumtools, anyone who is a FATE member will be automatically put on the 12 months hire rates (lowest prices in the UK). Hire packages will still start at 3 months hire term as usual, a standard Level 5 Taper is normally priced at £0.70 per day but FATE members will be award it at the rate of £0.58 per day.

Not only is Gypsumtools providing you with a number of discounts, there are also a series of ‘How to’ videos and a blog full of useful information, if you are not yet a member of FATE but would like to become one, please click HERE to register.

All discounts can be applied to all stock apart from FLEX sanders & Vacuums, and while stocks last will also include Makita & Milwaukee tools.

Don’t forget that Gypsumtools can also stock a product that may not be on the website, if you’re searching for a product be sure to give us a ring and the Gypsumtools team will try their best to source this for you.

For any more information, you may need on shopping with Gypsumtools or about a FATE membership be sure to call us on 08456 254 321.Be sure to follow Gypsumtools on Facebook, LinkedIn, Twitter and Instagram to state up to date on the latest deals and product offering.

The Ultimate Drylining Guide

Dry lining is a great way to give a smooth finish to surfaces enabling you to decorate them right away.

However, there’s a bunch of skills you need to learn, tricks & tips to master and tools to consider before approaching your first project.

That’s why we here at Gypsumtools have created this Ultimate Drylining Guide to help you through every step of the way!

Think you have an article that we should be referencing? Get in touch

Bounce Back’s Trainees Get Hands On With Gypsumtools

In recent months Gypsumtools teamed up with Bounce Back, a charity and social enterprise which focuses on training and employing ex-offenders in the construction industry. Gypsumtools sought an opportunity to aid the charity knowing that their most popular course is Drylining, as a result Gypsumtools provided a full Level 5 Automatic Taping Kit to the social enterprise.

Bounce Back’s main training hub is located within HMP Brixtonwhere there are a total of three state of the art training Centres including, painting and decorating, scaffolding and Drylining. There is also another Bounce Back Drylining training centre in HMP Wandsworth. Bounce Back firmly believe that everyone should be given a second chance, and by providing individuals with the opportunity to obtain knowledge, experience and a qualification whilst in custody, they will further their chances of employment on release and decrease the opportunity of reoffending.

IMG_2486

Gypsumtools firmly stands by Bounce Backs approach and ethos, by providing the training programme with a full Level 5 Kit it will enable trainees to gain additional experience as they are provided with the opportunity to learn dry lining via traditional methods but are then given the opportunity to learn what is becoming the more popular way to install drywall, automatic taping.

‘Bounce Back gives individuals the opportunity to gain a qualification but, they were missing the tools to further enhance the course and their practical experience. By using Level 5 tools it will help the prisoners to be more employable as gain experience in both methods of Dry Lining, allowing the training programme to be responsive to the industry’. Explained Nick Ralphs the Managing Director of Gypsumtools.

IMG_2459


The Drylining course is 8-10 weeks and will allow the trainee to gain a full Level 2 Diploma in Dry Lining, and have become the most popular course within HMP Brixton. Gypsumtools recently visited the Prison to see the tools in action.

‘Every trainee seems to have the same view of the fact that by using Level 5 tools, productivity increases and they are easy to use once you get the hang of it. Added Ralphs.

Being the number 1 distributor of Level 5 Tools in the UK, Gypsumtools knows the rapid industry increase of using Automatic Taping Tools of large commercial sites, along with housing sites. Knowing that by providing these tools will indefinite increase the number of people placed in employment upon release is the one of the main reasons that Gypsumtools decided to make this partnership.

‘This is by far the best course out of the ones available, it requires more skill and that’s why I enjoy it more. Having these tools as well makes it even more enjoyable, we’re learning something new and we know its required for when we get out.’ Explained oneof the trainees on the Drylining course.

Bounce Back have also partnered with some of the biggest construction contractors in the UK allowing the charity to go beyond the prison walls. This allows Bounce Back to provide aftercare support upon release, the individual becomes fully qualified and is awarded a CSCS Card allowing them to work on a construction site. A dedicated member of the Bounce back’s team works with the individual to get on site as soon as possible. As a result of their work, Bounce Back has a re-offending rate of only 12% against a government average of 60% which is a great achievement. A total of 85 people has been awarded a CSCS card and over 480 have gained a qualification this year.

‘With Bounce Back’s aftercare upon release to help people re-engage with the community, we hope together we will help to place ex-offenders into employment with the added experience the tools provide thus, lessen the chances of reoffending.’ Finalised Ralphs.

To read more about Bounce Back please click here: http://bouncebackproject.com

IMG_2441


Industry Leading 7-Year Warranty

Last year the American based Taping Tools Company Level 5 Tools, embarked on a project of New Product Development to achieve better performance, innovation and higher quality amongst all of their product offering. Since the new tools have been released, Level 5 and their stockist have received endless amounts of positive feedback.

Level 5 are now so confident in their tools, that the five-year warranty has now been extended to a 7-year warranty, this includes all products that have been purchased within the year (01/01/2017).

Gypsumtools is the Exclusive UK and European Distributor of Level 5 tools, and will now be carrying out the task of updating customer warranties for all products that have been purchased via the trade counter or via the online store within the year.

‘Recently we had to increase our regular order from Level 5, as stocks started to run low straight after we received our last order. The Dryliner is now beginning to trust Level 5 again with the new range. Those that have made the purchase have stated that they will not go back to any other tool other than Level 5.’ Stated Nick Ralphs, Managing Director of Gypsumtools

Level 5 now stand behind their products like no other brand within the industry, they are confident and committed to giving the customer aftercare support. ‘Our customers come first, we want to offer not only an extended 7-year warranty but continuous support. If any issues arise we will make sure its dealt with as a priority, guaranteed.’ Explained Scott Murray, President of Level 5 Tools.

From all singular items to full kits, Level 5 will automatically award you with a 7-year warranty as part of your purchase, giving you the confidence that Level 5 are becoming the market leader in Automatic Taping Tools.

To view Gypsumtools full Level 5 range click HERE


Welcoming IRWIN TOOLS

IRWIN_Tools_logo

Gypsumtools are pleased to announce the introduction of IRWIN TOOLS to our product range, we recently attended The Toolbank Tradeshow in Chateau Impney, Droitwich in March. This is where our we spoke to IRWIN TOOLS about their product range and how they could benefit Gypsumtools.

We decided to stock the following products, IRWIN Aviation Snip – Straight Cut and IRWIN Drywall Fixed Blade Knife, so as an introduction to stocking IRWIN TOOLS we wanted to let you know a little history surrounding the manufacturer.

IRWIN Industrial Tools is an American manufacturer and distributor of hand and power tool accessories, some of their most common products are drill bits, Vise-Grip Locking Pliers, Utility Knifes and Blades they also happen to be owned by Stanley Black and Decker.

Being based in America, IRWIN TOOLS supply trade professionals worldwide with their products that are continuously going through new product development, this ensure that durability and performance is maximised throughout all of their products.

Here’s a little bit more about the products we have chosen to stock, The IRWIN Aviation Snips are said to be of the highest comfort with a solid-moulded soft-grip. The compound cutting action reduces the need for added pressure as a result. it decreases hand fatigue, they can be yours for just £14 click HERE to be redirected to the IRWIN Aviation Snips – Straight Cut.

So, moving on to the IRWIN Drywall Fixed Blade Knife, which are ONLY £7 they come with one blade and are extremely lightweight allowing you to comfortably add it to your tool belt. But just because its lightweight doesn’t mean that this Drywall Knife isn’t robust, it’s also specially designed to withstand dusty conditions that would normally ruin other tools, click HERE to purchase your IRWIN Drywall Fixed Blade Knife.

Remember if you would like to purchase something we currently do not stock, you can always give us a ring on 08456 254 321 and we will try our best to stock it for you. You can also simply fill out one of our Online Contact Forms and we will get back to you as soon as we can.

New Revolutionary Hook On Beads

Our latest product to hit our warehouse shelves are these amazing ‘Hook On Corner Beads’, which is quite self-explanatory. The Hook On Beads, quite simple hook on the plasterboard/drywall by placing it into position and applying a slight amount of pressure, the bead will then be secured in place, and that’s it. There is no need for any screws or nails when using this bead, this product has been designed with little hooks, (hence the name) that are specially designed to secure the bead with minimal effort, a simple tap should do it.

Revolutionary, right? Whether you’re in the plastering or drywall industry, you will use beads almost every day, so you can imagine the amount of time this is going to save you by not having to nail or screw the bead into place.

What if you position it wrong? Not a problem, the Hook On Corner Bead can easily be dismounted and adjusted over and over again.

The Hook On Corner Bead can be mounted horizontal or vertical although if you prefer to mount bead the traditional way, this can also be achieved with this bead.

We start stocking the Hook on Beads around a week ago and its pretty much been flying off our shelves, especially with Trade Counter visitors.

So far so good…. Already customers have explained that they will never go back on this product, that it’s simple and easy to use along. Customers have also expressed the amount of time this product has saved them.

Interested? The Hook On Corner Bead is available to purchase now in a pack of 50 (2.4m) at just £30. You can purchase online, over the phone 08456 254 321 or at our Trade Counter, in Leicester. Remember if you place your order before 4pm you can qualify for next day delivery.

Switching To Automatic Drylining Tools

Many people take pride in their profession and when it comes to drywall finishing, this is no exception. It takes a tremendous amount of skill and knowledge of the craft to perfect the application method and become great at the job, which is why the Drylining Professionals are in such high demand.

However you choose to finish your drywall, ultimately it’s the skill of the person doing it that will have the biggest impact on the end result. But it’s the time it takes to get to that end result that has so many professionals switching to automatic drylining tools.

There’s certainly no doubting the vast impact that using an automatic taper has on resource management, use of time and overall productivity.

And when you consider that the best hand finishers become the best automatic drylining tool users, you’ll see how useful the combination of speed and skill can be when using both methods together on a job to ensure high productivity and the best possible flawless finish.

It’s for this reason that a professional and skilled dryliner may choose to do the majority of the work with an automatic tool for acceleration, but save the finer detail to do by hand for visual appeal. Not only will they double their productivity, but they can also still take pride in the skill that went into the work.

Making the transition

Unfortunately, some drylining professionals are still unwilling to give the automatic tools a try. Some fear it will completely remove the need for any level of skill within the job, while others feel that the speed and accuracy of the equipment will leave them out of work having finished the job at an increased speed of delivery.

However there’s a flip side to this argument and that is, if a job is finished to a high standard sooner, there’s more profit to be made and less time needed before moving on to the next job. Getting the work finished earlier also makes you or your company more competitive in the marketplace and therefore likely to win more projects. So, despite getting the work completed sooner, there’s the likelihood of even more straight after.

Then, bearing in mind that it’s always possible to use a combination of the two methods, depending on the time available and cost of man hours, learning to use an automatic drylining tool will also give you a greater skill set, enhanced choice in your work and more marketability as an individual.

Save money on your drylining

In periods of uncertainty for the economy, companies are increasingly looking for ways to save money and one of the ways they can do this is by cutting down on labour costs. That’s not to say that people will lose work (because they can move on to another job straight away), it just means greater profit margins gained when a job takes less time.

Switch to automatic taping tools with Gypsumtools

So, if you haven’t been keen on making the move from hand to machine when it comes to finishing drywall, then maybe now should be the time to give it a go.

After all, there’s nothing to say that there isn’t room for both in today’s industry, so work out where using automatic tools will save you time and money and where the more traditional, intricate methods would prove better.

And if you need any advice on the best automatic drylining tools there are, then get in touch with us to find out more, or take a look through our extensive range online.

Free Up Time & Save Money With Automatic Tools 

Free Up Time & Save Money With Automatic Tools

Free Up Time & Save Money With Automatic Tools

It has to be said we’ve heard plenty of arguments for and against the use of automatic tools when finishing drywall.

While many traditional drywall experts value the tremendous skill involved in working by hand and the great results that it can achieve, others rave about the fantastic benefits of being able to free up time and save money with automatic tools.

In a similar way, arguments can be made for and against renting these kind of tools, as opposed to buying them. But, when all is said and done, the decision comes down to individual choice and the priorities involved with the work.

If time isn’t on your side, you may go for the automatic tool, after all, the more man hours you can save on a job, the greater profit margin that can be achieved, while you still get consistent, high quality results.

It’s also useful if your team isn’t skilled in drywall finishing and doesn’t have years of experience behind them. By using automatic tools, you can be assured that the right amount of compound will be used on each joint, at the right width and with a proper crown, for example. Every joint will look the same and you will make a big saving on man hours in the process.

However, a veteran drywall finisher, who has that special, highly skilled touch and more time to complete a job using tools, tape and compound, might value the time to focus on the finer details and create a completely flawless finish this way.

Better to buy or rent automatic tools?

Large companies employing a workforce who shares tools may choose to rent rather than buy, because the tools can be easily changed for clean and fully calibrated ones. Hundreds of hours of worktime can be lost through having to fix broken tools and go over the poor work that a defective tool has left behind, so, by renting one, there’s no down time on the job, while you get the tool repaired, serviced or parts replaced.

On the other hand, someone working individually might relish the chance to use their own tools and because they’re their own, they would be more likely to take better care in maintaining them and make better use of their time through having a fully functioning, clean tool.

The skill and proficiency of a drywall finisher also has a big part to play in the finished result, whatever form of finishing method you employ. So, it’s also fair to say that someone who is skilled at finishing drywall by hand will also become very skilled at using automatic taping tools, in which case, you have a win-win situation. However, many skilled hand finishers are cautious about making the change because they fear that it will diminish the need for skilled workers.

Benefits of automatic tools

So to round up, the biggest benefits of automatic tools are the savings on time and, as a result, money, but there are also many more. See below:

  • Enhanced productivity
  • Jobsite savings on man hours
  • Less cost, greater profit
  • Uniform, consistent job throughout
  • Generally better results
  • Ensure exact width and crown
  • Less physical effort
  • Less skill needed
  • Work requires little sanding after
  • Equipment is now more ergonomic and lighter than ever
  • Causes less muscle strain and fatigue

Order your automatic drywall tools today

At Gypsumtools we take great pride in giving our customers the most satisfaction, through offering them a choice of plastering and drywall equipment to suit their needs. If you would like to find out more about what we have to offer, then take a look at our excellent range of products online and discover the masses of benefits they can bring.