What are plasterers’ stilts?

plastering stilts hire

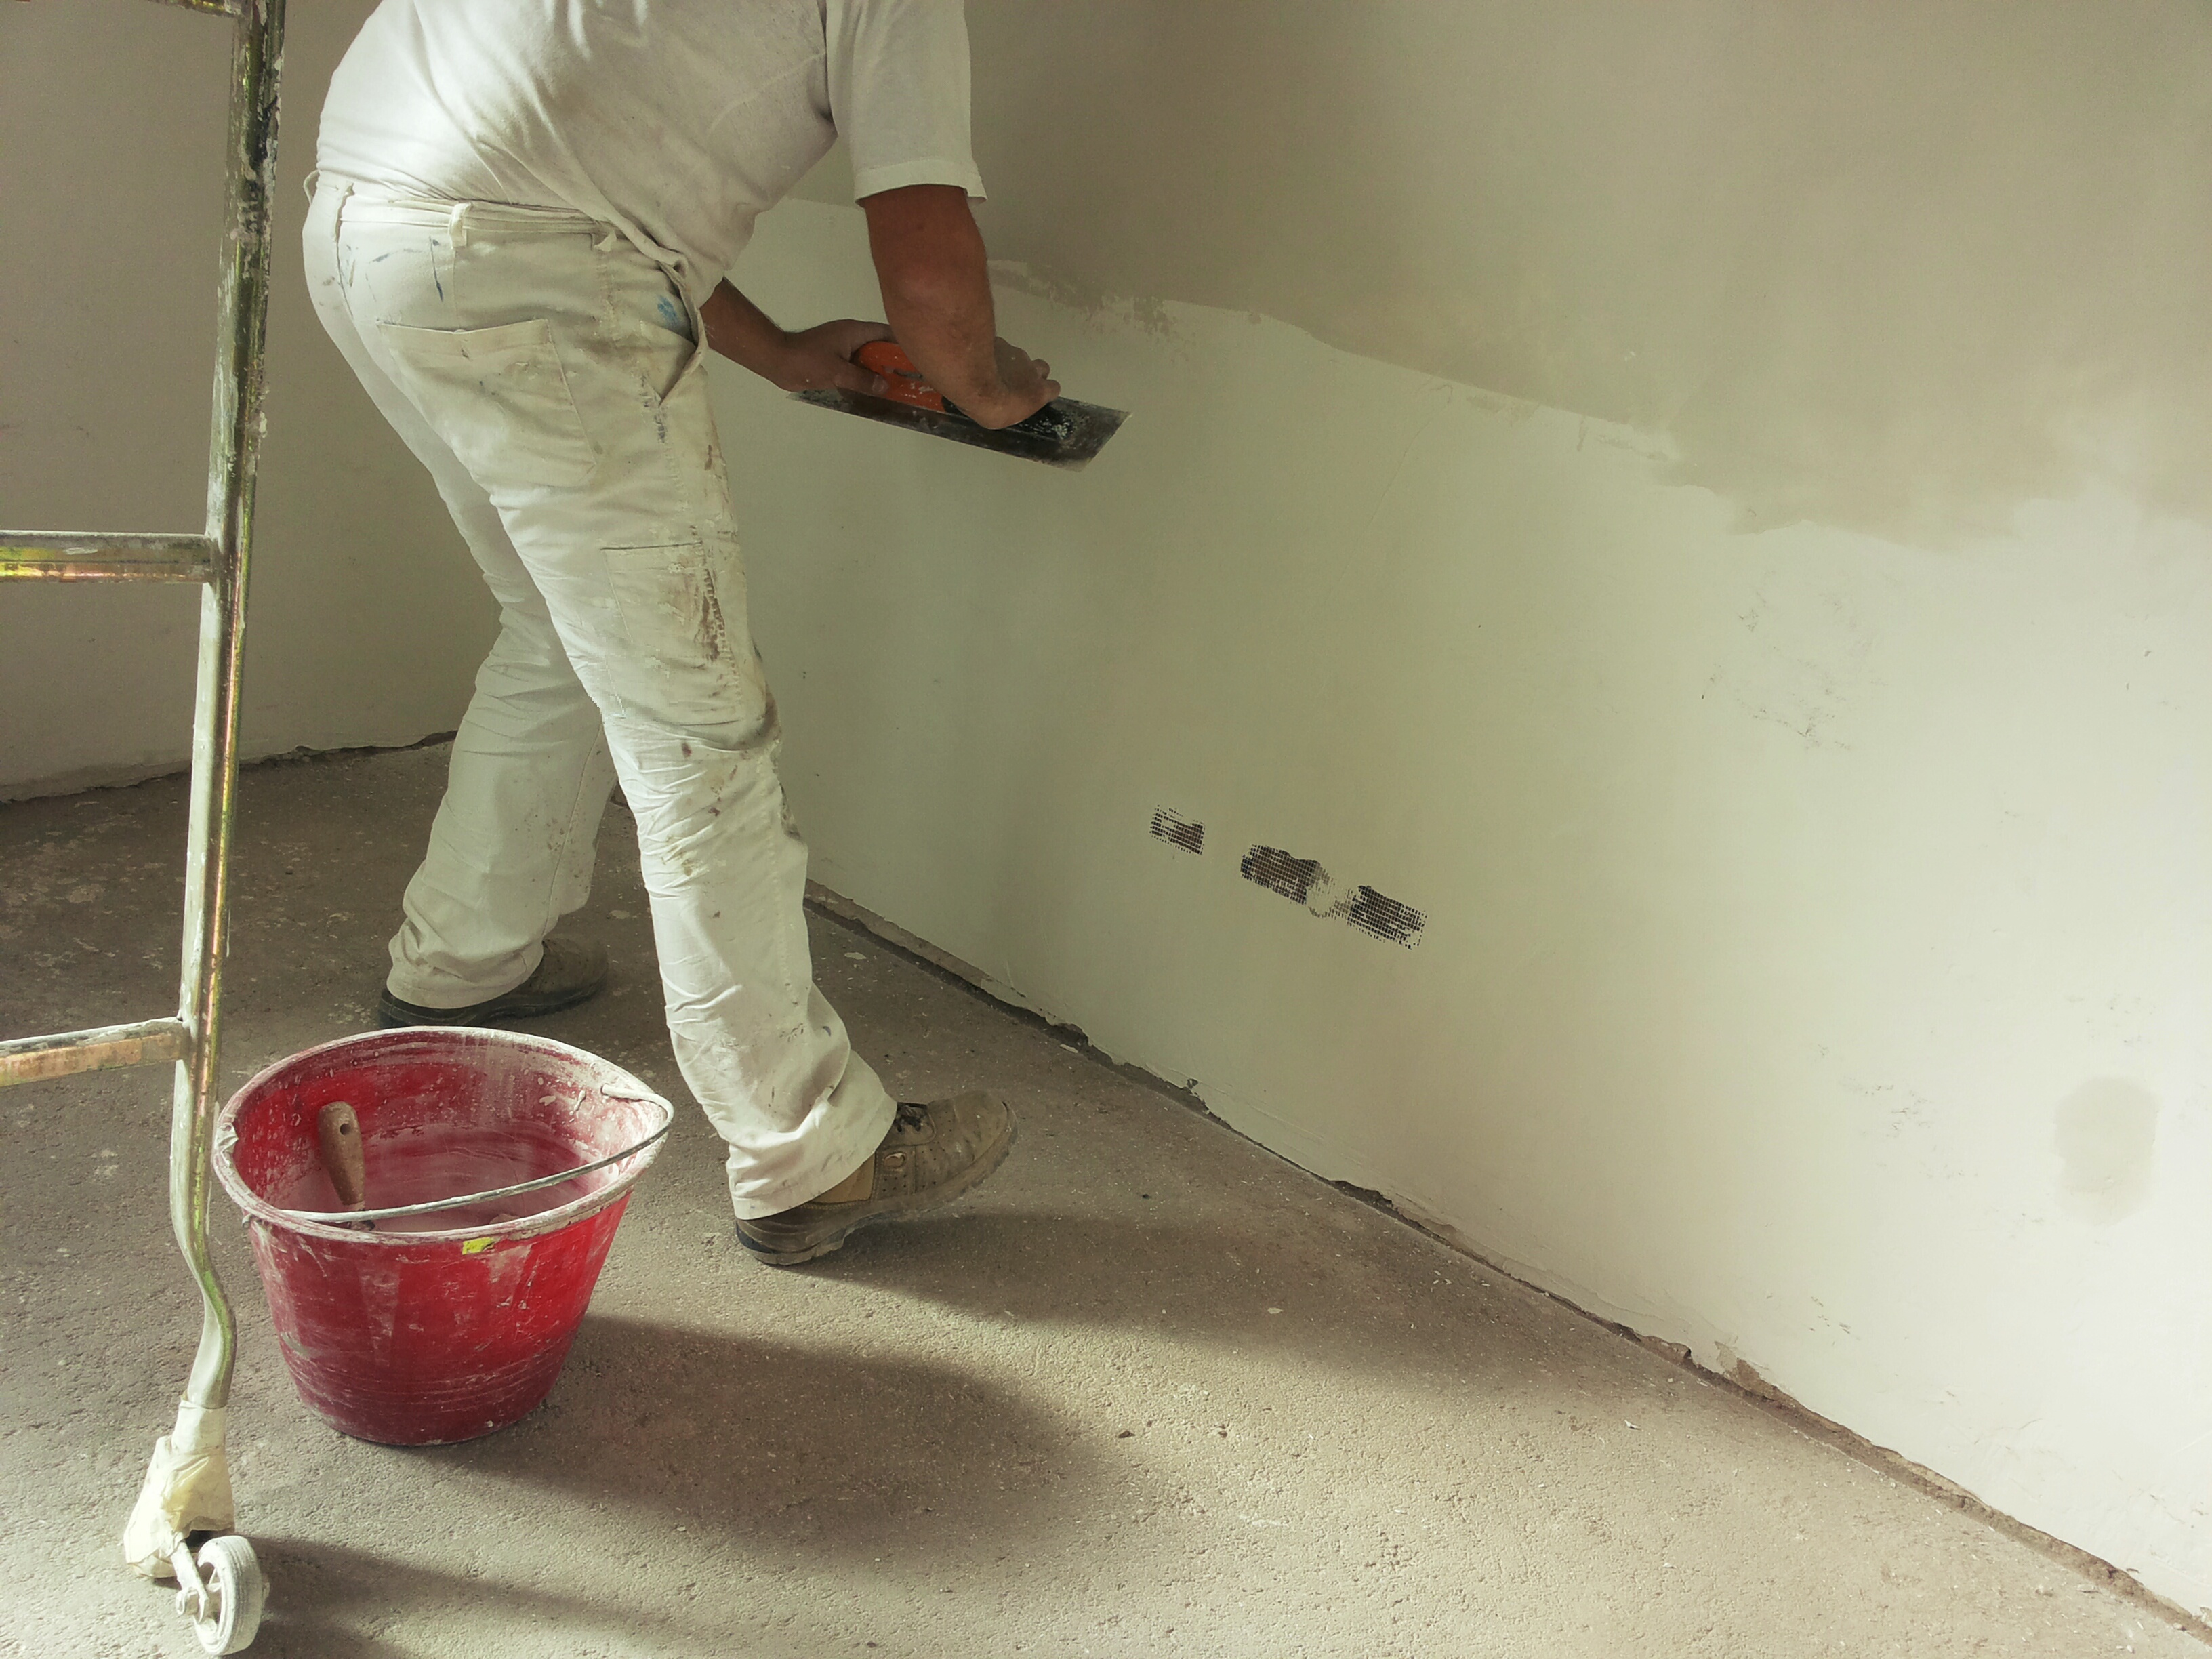
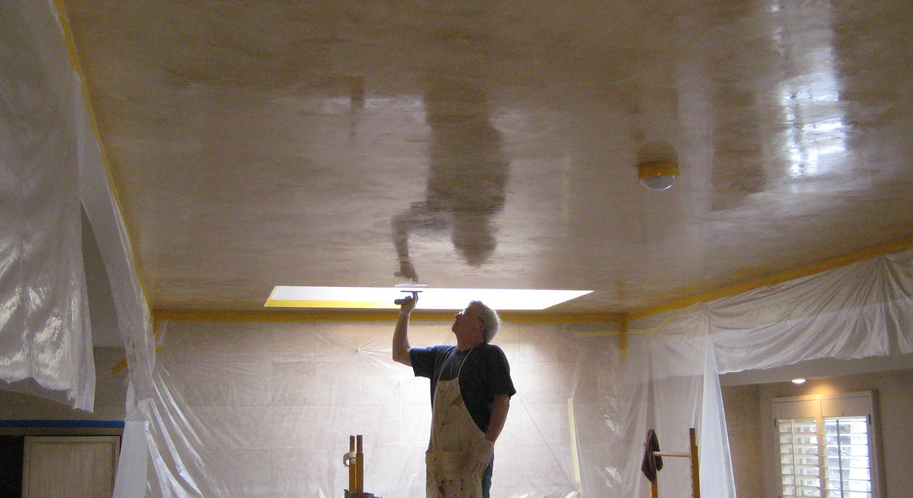
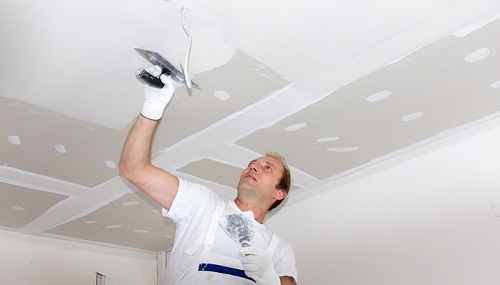
Unless you are moonlighting as one of the Chicago Bulls or LA Lakers, chances are that during your plastering career you might have come across the issue of how to get your plaster in those hard to reach places, such as ceilings and the tops of walls.

Most ceilings are well over six foot high and in the past a milk crate, step ladder or plank balanced on two crates did the trick. But, with too many dangerous accidents occurring from unsafe working environments and many building sites and businesses clamping down on the health and safety pitfalls involved, it might be that over the years you’ve looked to an alternative solution.

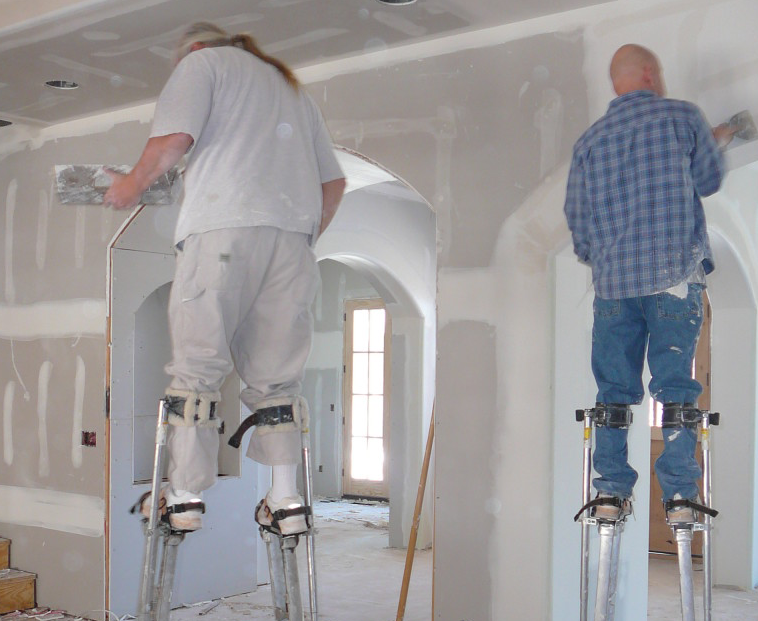
One of the options you can try is plasterers’ stilts. And if you are wondering what are plasterers’ stilts and the image of clowns in a circus keeps popping into your head then don’t be disheartened.

Contrary to the sort of stilts that are used to wow the crowds under the big top, these are sturdy, easy to put on and take off, don’t take years of practice to perfect using them and if used in the right circumstances can be very safe.

Take a look at our stilt range for some of the industry leading stilts for plastering!

Plasterer plastering ceiling

How can Plasterers Stilts help?

Stilts for plasterers have been used in the drywall and suspended ceiling industries for years and can be an extremely useful tool to have in the workplace, saving you time, effort and labour.

Once you’ve got the hang of them, they make an excellent addition to your toolkit and, if you would like to know how else they can help, there are several benefits and a few things to bear in mind when thinking of investing in a pair.

  • Stilts will save you time on climbing up and down ladders and moving them from place to place – instead you can move easily across the area you are plastering.
  • Stilts will help reduce the risk of over reaching to get to those hard to reach areas, which can lead to muscle strain, fatigue and falls.
  • They are a safer option to balancing on ladders and other stands, offering you greater stability when both moving and standing still.
  • They are sturdy, act as an extension to your lower leg, have a solid large base and are easy to balance on.
  • They can be fitted in seconds using quick release straps and an adjustable working height.

But make sure…

  • The floor where you are plastering is clear of all debris and obstacles.
  • Remember to make sure that everything you need is within reach, a little higher up than you might usually be used to.
  • Have a practice on them while others are around and make sure if you’re going to be working on your own that you can take them off and put them on again easily in between coats.
  • Never try walking backwards. Chances are it’s not going to end up a pretty picture.
  • Don’t rush and take your time, especially if you’re just getting used to them.

a pair of plasterers stilts

Best Stilts For Plastering In The UK

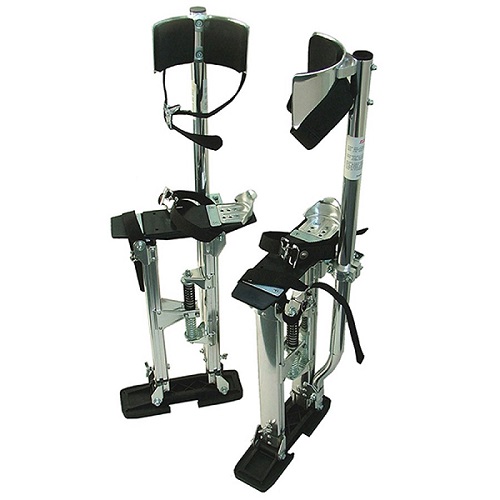
If you’re looking for some cheap stilts for plastering but ones that are leaders in the industry, then look no further! We have an excellent set of plasterers’ stilts in stock from the popular and dependable quality budget brand Faithfull, which have been designed to save time in both the plastering and decorating industries.

For a Faithfull Plasterers Stilts overview, you might be pleased to know that, while they are extremely well made, using lightweight aluminium, they are sturdy, efficient and adjustable, coming in six two-inch increments which range from 18-30 inches.

The maximum load bearing amount is 114kg (so remember to take into account your hawk, trowel and plaster) and they won’t break the bank like other plasterers’ stilts.

Plasterers Stilts For Sale – Buy Online Today

If you’re a professional plasterer who is looking for an easy and effective solution to getting a job finished in even quicker time, then maybe stilts could be your best bet.

You can order your stilts online today from Gypsumtools and have them with you on site tomorrow, when you order before 12pm.

We also offer free delivery on orders over £99 to any location across the UK, so you can rest assured you will be only paying for the goods you receive.

Have a browse through our extensive range of products online, or give us a call today for more information.

How to Skim a Wall

Unsure how to skim coat over paint, skim coat ceiling, skim coat with a roller or how to skim coat a textured wall? Well you’re in luck because in this article our experts explain  how to do just that…

In the early stages of plastering a wall you don’t need to worry so much about smoothness, because it’s getting the walls as flat as possible that should be the real focus.

The last thing you want is different thickness’s of plaster that are drying and firming up at different times, meaning you have to mess around with figuring out which places to skim once you’re done and waiting for it to dry. Uneven thickness can often happen when too much time is spent on getting the first coats of plaster smooth and not enough time ensuring it’s flat, so don’t get too focussed on getting it smooth in the early stages.

If your plaster is flat, it means you can move along the wall naturally to enable you to finish the job and it’s then in the final stages where you get your wall smooth, removing any trowel marks or ridges as you go. And, you might want to check out these handy hints on how to skim a wall before you start.

In cantiere

Some people, especially the professionals like to skim coat a wall the traditional way, using a hawk and trowel – and for this, you will need to be aware of the six stages of skimming. There’s no short cut around this and it’s vital that you follow each stage, letting the plaster firm up a bit before you move on to the next.

There’s no putting the plaster on and trying to smooth it out straight away either, because to get it right it takes several thin coats, removing trowel marks and ridges in between, when the plaster has gone tacky. You can also resolve issues like blistering in the walls.

If you’re slightly newer to plastering, or are just an occasional plasterer, the whole process of skimming a wall with a trowel and hawk may seem a little daunting. It takes a lot of practice to wield the trowel and hawk successfully, so you’ll be pleased to know there is a different, slightly easier way to skim a wall using a paint roller and squeegee knife.

As with the method above, you’ll need to ensure you have the right tools for the job to avoid frustration half way through and also make sure the wall is ready to skim, so be prepared beforehand and fix uneven sections, torn away paper and holes before you start.

Plastering Equipment Needed to Skim a Wall

This method can show you how to skim a wall the easier way and the tools you will need are as follows:

    • Drywall compound
    • Primer
    • Paint roller and roller sleeve
    • Mud pan
    • Squeegee knife
    • Taping knife and masking tape
    • Paint brush
    • Sanding pole and sandpaper
    • Safety glasses (the last thing you want is mud or dust in your eye.)

plasterers kit

Start off by rolling the whole wall with fast drying stain sealing drywall primer to ensure the joint compound sticks better to it. Make sure to let the sealer dry thoroughly too.

You can then roll on a slightly thinned layer of all purpose joint compound with your heavy nap roller. The consistency should be a bit like mayonnaise – just thin enough to roll on a wall. If you get it too thin, it can cause shrinkage and subsequent cracks, but don’t worry if this happens the first time, just get it a little thicker for next time. Roll it on small sections at a time so that you can then smooth out the joint compound before it dries and try and keep it as even as you can.

After this first coat has gone on, you can then trowel it smooth with your squeegee knife. Keep a damp cloth and mud pan handy to wipe off any excess mud. And, don’t worry if you have to go over a few areas more than once. Start at the top corner and pull the knife vertically downwards, stopping around halfway, then, once you have rolled the joint compound on the bottom half of the wall, start at the bottom and pull the knife upwards.

After the wall is smooth, let the first coat of joint compound dry. Then it’s time for your second coat which will need to be spread with a trowel in a horizontal direction once it has gone tacky. The idea is to go at a right angle to the direction in which you went with the coat before. If you still see imperfections then it’s fine to do a third coat – just wait for the second one to dry first.

The process may seem drawn out, but it’s pretty quick because the layers of mud should be thin and as a result will dry fast. Then, the smoother you have your wall, the less sanding you’ll need to do afterwards.

After the last coat has dried you can then pole sand the wall to get it looking flawless. Hopefully this won’t take too much trouble if you’ve followed the stages of skimming a wall as mentioned.

If you have any questions about how to skim a wall, or if you need any further plastering help or advice, feel free to give us a call. With over 50 years experience in the plastering industry we can help you find the right tools and equipment to help you get the job done as easily and pain free as possible in no time at all.

What is Venetian Plaster?

marble plaster suppliers

If you have ever had the pleasure of taking in some of the magnificent sights of Venice, you will know that it is a city packed full of wondrous design and old world beauty.

Once you’re there, all it takes is a gondola ride down one of the city’s famous canals to experience the striking architecture that can be found on virtually every corner.

Because of this, it’s no surprise that even the special plaster which comes from this northern Italian city has the same awe inspiring passion, beauty, elegance and depth as the city itself.

So, what is venetian plaster? The answer lies in what it’s made of, how it’s applied and the finished effect.


Traditional Venetian Plaster, otherwise known as marble plaster, Italian plaster or polished plaster is made of lime putty and marble dust and gives a highly polished finish to walls and ceilings, which can look like stunning marble itself. As a result it’s very often used successfully for decorative effect.

While it can be enhanced with acrylic resins, when it’s applied correctly, the plaster on its own can give a rock hard, deeply textured and smooth marble-like finish which displays a glossy, high sheen.

Venetian Plaster has been used for centuries and although it was originally used for building purposes its main use is now to compliment the interior design of a building, whether it’s old world traditional, contemporary design or even used in listed buildings for restoration.

It’s popular, not only for the striking and luxurious effect that it gives, but also because lime based venetian plaster is made with less harmful chemicals, which makes it hypoallergenic, as well as mould and algae resistant, not to mention the fact that venetian plaster can also regulate humidity.

polished plaster concrete

How to make Venetian Plaster & How to do Venetian Plastering

Venetian Plaster is usually applied over a primer and basecoat, as with regular plaster, but a change that has occurred in the application of it over time is the amount of coats needed. In the past the Romans used up to ten coats of plaster, whereas now, as technology has moved on, it only needs 1-4 coats thinly applied with a trowel to get the finish you need.

The glossy effect of the plaster gives a touch of prestige and elegance where it is used, because its crystalline beauty can look absolutely stunning. When applying the final layer of Venetian Plaster, there’s a special technique which is used to burnish the surface with a special steel trowel to give a glass like sheen that creates the impression of magnificent depth and texture.


Tools for venetian plastering include the use of a round edged plastering trowel. With this special kind of plastering tool, the technique that is used on the final coat of plaster is like a wet polishing that focuses heat and pressure to give deeply textured colours and a high shine.

It can be a pretty useful technique to use on surfaces where large slabs of marble cannot be easily installed, or in buildings with a tighter budget which means using real marble is simply too expensive.

Venetian Plaster has often be referred to as being a fake version of marble, but the fact is that the plaster in itself is made up of natural materials which, when combined, offer this striking effect. It can come in a variety of levels of sheen, textures and colours but it can also be tinted or coloured to achieve an affect that can’t be created naturally. When applied correctly, the finished effect is just as striking and aesthetically pleasing as marble itself and the finish will enrich the colour of the plaster giving warmth to the walls.

Order your Tools Online Today

If you would like to find out more about the tools for venetian plastering that we have in stock or simply venetian plastering cost, take a browse through the wide range of products we have available and order your tools online today, or, to find out more about the products used, give us a call or message us online.

Our friendly and experienced staff are always available to help and advise.

Plastering Kits for Plasterers Apprentices

As with many industries, when you first start out in professional plastering, it can mean some difficult decisions to make. What kit do you need, what are the best tools for the job and do you go down the sensible, more cost effective route, or do you go for the best in the business straight away?

One thing’s for sure – you’ll want to make sure that you can hit the ground running and there’s nothing holding you back when you start. But, likewise, you’ll also want to be sure you’re not investing in pieces of plastering kit that you might never use.

At Gypsumtools we have over 50 years experience in the plastering industry which has equipped us with a sound knowledge of what our many different customers might need at any one specific point in their career.

That’s why, when you’re just starting out in the plastering industry, we have designed plastering kits for plasterers apprentices that really do the trick.

plasterers-apprentice-kit

Great for College Students

Maybe you’re still learning the trade and are still at college, but getting fed up with borrowing kit. Or perhaps you’re about to complete the course and want to practise with your own set of tools before you leave.

Our plastering kits for plasterers’ apprentices are great for college students because they are affordable, contain exactly the sort of tools and equipment you’ll need and the contents of the kits have been hand picked by people with a passion for plastering.

The kits include a plasterer’s finishing trowel, bucket trowel, aluminium hawk, plasterers float, scratching tool and water brush. Also, with safety in mind, you get a hi-vis waistcoat, safety glasses and dual density black Chukka boots which are popular in the construction, engineering and agricultural industries for their strength and durability, not to mention the steel toecaps and midsole.

We’re not in the habit of offering our customers poor equipment and we pride ourselves on our reputation for only offering the best equipment at the best prices – whether they’re from trusted budget brands or the most highly sought after tools there are.

best choice of plastering kit

Choose Your Own Kit

We also understand that different people need different things, even if they’re at the same sort of stage in their career, so this is why, when it comes to providing tools and equipment for a plasterers apprentice, you can even choose your own kit.

After so many years in the trade, we get that a plasterer’s trowel is a very personal thing and that’s why we believe you should be able to choose the tools that are right for you from the start. Why not take a look at what’s on offer?

Order Your Plasterers Apprentice Kit Today

To find out more about our plastering tools and supplies just give us a call, or drop us a line – our friendly and experienced staff are always on hand to help. Or, if you’re looking to get started and like what you see, then you can order your plasterers apprentice kit today. If you put your order in before 12pm, you’ll even get it by tomorrow.

Our plastering apprentice kits have been designed to offer the most cost effective and useful solution for anyone just starting out in the industry, so take a browse through our products and see what’s the right collection for you.

best-plastering-kit