The Benefits of Using a Corner Trowel

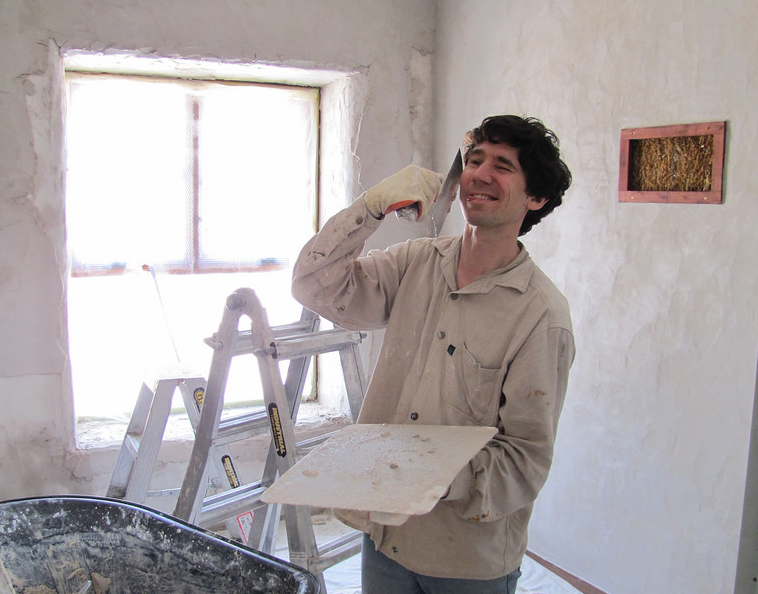
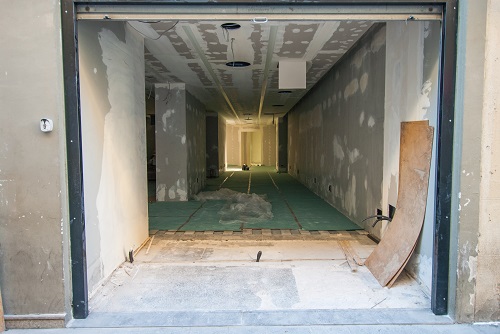
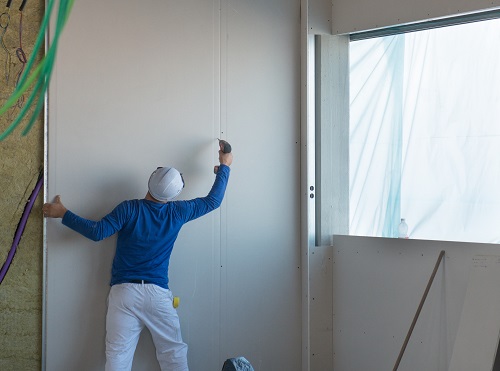
When you’re plastering a room or putting up drywall, one of the hardest and most frustrating bits to get done can be the corners – especially the hard to reach ones.

And typically, it’s the first bit of plastering in a room that needs to be right, in order for it to look like a good job. Smooth, sharp inside and outside corners can make the whole wall look good, so it’s important to do it well and this is where a corner trowel can be worth its weight in gold.

Some specific benefits include the time saved in getting your corner right first time. It can also mean you have to go over the same spot fewer times and when hard to reach corners are involved there’s less chance of you having a sore arm at the end.

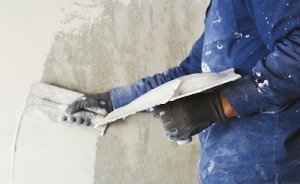
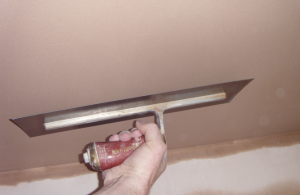
This handheld device fits perfectly into the corners of the room, making it the ideal tool to enable flatter, smoother surfaces in the end.

Corner Trowel

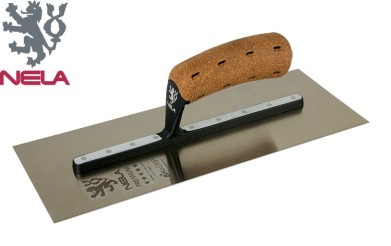
While most corners will be 90 degrees, the trowel can also come as an adjustable tool or in a variety of sizes to ensure it fits whichever angle you’re going for. Many also have a soft grip handle to go easy on your hands and the blade can be made of stainless steel and rust-resistant to ensure long-lasting use.

Finish the job faster!

Plasterers have been in discussion for years about the need for a corner trowel when finishing your corners, but one thing remains for sure. If used properly, with the correct amount of pressure applied, a corner trowel will help you finish the job faster, leaving better results in the end. It’ll also leave you with fewer aches and pains afterwards because it’s less of a struggle to get the corners right.

What they allow you to do

A corner trowel is useful if you’re taping a corner joint when putting up drywall too. After you’ve used the drywall knife to apply the mud to your corners, all you need to do is measure a piece of drywall tape that’s the length of the wall and fold it in half.

Apply the drywall tape fold to the corner and press it tightly to the wall, squeezing out any excess mud. Making sure you squeeze out the excess mud will reduce the bubbles and help the compound to dry faster.

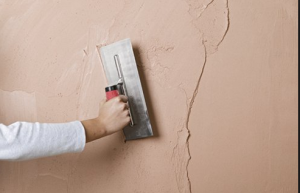
With moderate pressure you just run the trowel down the corner, from top to bottom, flattening the tape and removing any excess mud as you go. You can then smooth a layer of mud over the top using the trowel again.

Corner trowel in use

Buy online today!

We have a huge range of plastering tools available online, which include some of the best when it comes to trowels. Check out these ones from the popular brands Marshalltown and RST.

When it comes to buying your plastering tools, we have done all the hard work for you by scouring the globe to find the best there are at the best prices, so take a look through our products, find the one that’s perfect for you and buy your corner trowel online today.

The 6 Stages Of Plastering

plastering stages

If you’re looking to try your hand at a spot of DIY plastering for the first time, then chances are you’ll also want the sort of smooth finish that the professionals get. After all, the last thing you want is to end up with an uneven wall that’s going to wind you up whenever you see it.

There is an art to plastering and a lot to be said for following the right steps to getting that perfect finish, so no cutting corners here!

In the 6 stages of plastering, each one plays an important part in getting good results at the end. So we’ve put together a handy guide which will talk you through them step by step.

Once you’ve prepped the wall for plastering, controlled your suction so that the plaster doesn’t dry too quickly and you’ve mixed your plaster, it’s time to get started on the six stages.

Stage 1

This is where you apply your first coat of plaster, which should be about 2mm thick. When you’ve loaded the plaster onto your trowel start at an angle with the leading edge of the trowel away from the wall, moving the trowel in a long motion, gradually flattening it to the wall as you go. On this first coat it’s more important to try and get a flat even coat with no bulges, don’t worry too much about any trowel marks or ridges because these will come out later.

Man plastering

Stage 2

As the plaster begins to firm up this is when you can flatten off the first coat with a clean trowel, making sure that the bulges are pushed out. The secret to this (as with the majority of plastering) is to use firm pressure as you move your trowel across the wall in long movements, holding the leading edge of the trowel at about 10-15mm away.

Plasterer flattening plaster

Stage 3

Straight after you’ve finished stage two, the second coat of plaster is applied. It’s very similar to the first stage, but this time you’re only using half the plaster, applying half the thickness and even firmer pressure to try and reduce any holes in the plaster that might be caused. If you do create holes don’t worry too much, hopefully the next stage will get rid of them. The main reason for not spending too much time trying to fix the holes at this point is because you don’t want parts of your plaster to dry while you do.

6 stages of plastering

Stage 4

This is where you can trowel the plaster flat and remove any holes. Hopefully the plaster will be tacky and pliable enough to be pushed around into the holes, although make sure it isn’t too wet or this could create more. Again remember to run the trowel over the wall at the correct angle of around 10-15mm and reduce the risk of any dragging or scraping. Use firm pressure and don’t worry too much about any ridges that are caused as these can be removed in the next step. As you go over the wall look closely for holes and if some aren’t filling despite the pressure of your trowel, then more plaster can be applied to the hole and flattened. While it’s important to get the majority of holes filled at this stage, again don’t take too much time over it and let your plaster dry.

Holes in Plaster

Stage 5

This is where you remove any ridges in the plaster by using firm pressure with your trowel. If the plaster is quite firm and not easy to push around you can widen the angle of your trowel against the wall, but be careful not to scrape the plaster off.

Smoothing ridges

Stage 6

The final part of the six stages of plastering should leave you with a nice even slightly polished surface. It begins when the plaster starts to darken as it dries. This is where you can run the trowel with a firm pressure over the entire wall to finish. And you’re done!

Smooth plaster

Recommended Products

A NELA Mediflex Trowel 14 Inch for ONLY £30.66!

Nela-plastering-trowel

You’ll need a bucket to mix your plaster too – here’s one of our best selling Buckets, 38 Litres for ONLY £4.50!

Gorilla Mixing Bucket 38 Litres

And a Bucket Scoop to get the plaster onto your trowel, this Putz Bucket Scoop is great value for money at ONLY £8.04!

Putz Tools Bucket Scoop

What about getting to the harder to reach places? Check out this Faithfull Step Up that folds away for storing too ONLY £41.99!

Faithful Fold Away Set Up


For more advice on plastering techniques and products, please do not hesitate to contact us!

What’s the difference between a drywall and normal hammer?

You might be under the impression that a hammer is pretty straightforward, that it’s a weighty tool used for breaking things or ramming nails into walls. But, when it comes to plastering or drywall jobs, it’s important to know what’s the difference between a drywall and normal hammer, as there are actually some pretty significant contrasts and uses for the two.

A drywall hammer, like its name, is specially used for putting up or taking down drywall. As opposed to a standard hammer, it often comes with a serrated front face, which makes it more suitable for connecting with the nails and driving them properly into place.
Drywall Hammer

It also has a hatchet shaped back part for making rough cuttings in the drywall if you’re looking to make space for things such as outlets.  This is why the drywall hammer is sometimes referred to as the drywall axe. The hatchet part can also be used for pulling nails out if they aren’t positioned correctly, ready for them to be hammered back in the right way.

Unlike the normal hammer the drywall hammer often comes with a square head. And it sometimes has magnetic qualities to keep the nails in place, can come in different weights and reduce the effects of recoil shock. In fact it differs quite considerably from a standard hammer in look, feel and design altogether.

This isn’t to say that a normal hammer isn’t useful in plastering, it’s just that the standard hammer is used for things other than drywall, such as for careful removal of old plaster from brickwork in the preparation part at the beginning.

Normal Hammer

When should you use a drywall hammer?


The drywall hammer is specially designed to drive nails through drywall into the wall behind it, leaving a depression in the drywall panel where the head of the nail lies beneath the surface. This way, when plastering your drywall, it’s easier to cover up the parts where the nails are hammered in with plaster and give yourself a more flawless finish at the end.

It’s a tool designed specifically for use when dealing with drywall and will get the best results, so it’s well worth noting when you should use a drywall hammer and the difference between the time when a normal hammer will do the job just as well.

We stock drywall hammers 

At Gypsumtools we stock drywall hammers that are perfect in helping you get the job done, whether you’re putting up drywall or taking it down. But if you need a hammer for something other than drywall, then maybe you should check out our easy to use magnetic nail hammer, which will grip the nails tightly and get you into tight places with minimum hassle.

It’s important to know the difference when it comes to using the right tools in plastering. So, if you’re confused by which is the best for the job, feel free to drop in or give us a call for more information. We’re always pleased to help.


Thinking of becoming a dry liner?

The dry lining industry is an interesting one thanks to the many skills and techniques there are to learn, as well as the different career paths you can take if you particularly like a certain element of the industry.

If you’re thinking of becoming a dry liner, there are some great benefits to doing the work, including the satisfaction of seeing new building plans come to fruition and the opportunity to create new spaces, by dividing larger areas into smaller rooms and walkways.

drylining-project

The job is a valuable one within the construction industry, as a certain level of skill is required and it can be fundamental to a project’s completion.

What does a dry liner do?

The general work of a plasterer involves applying all kinds of plaster to walls and ceilings to get them up to scratch for decorating purposes. You could find yourself working in solid plastering, fibrous plastering or dry lining. If dry lining is a fairly new concept to you and you’re wondering what does a dry liner do, then, when you find yourself in a newly built house, just knock on some of the internal walls and you’ll find a good example of what they do.

It’s the dry liner’s job to put up internal walls in commercial properties of all kinds and domestic dwellings, using metal stud partitioning and plasterboard panels. They can also create space for insulation, install removable wall partitions, suspended ceilings and raised flooring and hide visible pipes and wiring.

There are two stages of drylining – fixing and finishing. You’ll need to be able to measure out and cut plasterboard to the right size and there’s also an element of sealing and taping the joints, once the plasterboard is in place, then sanding down the area ready for painting and decorating.

dryliner at work

Useful information on drylining courses

In a similar way to other plastering jobs, some of the skills you will need to carry out this practical job are good numeracy skills, the ability to work as a team, a decent level of fitness (because of the lifting and moving of the panels) and the ability to read technical diagrams. But, when it comes to learning how to do it, you can become a dryliner’s mate and figure it out on the job, take a college course to learn the skills, or do both.

While there are no set qualifications needed to become a dryliner, there is a range of college courses and apprenticeships that you can find and do through organisations such as the CITB and National Careers Service, City and Guilds which should help you learn the skills you might need.

If you’re going in the trade get the right kit!

And, if learning about drylining and becoming a dry liner sounds like an appealing prospect to you, then you also might want to give yourself the best possible start by getting set up with a good piece of kit.

At Gypsumtools we stock a range of professional drylining tools and taping kits which will help make things a little easier while you learn the trade.

You can take a browse through our products online, or give us a call to find out more.