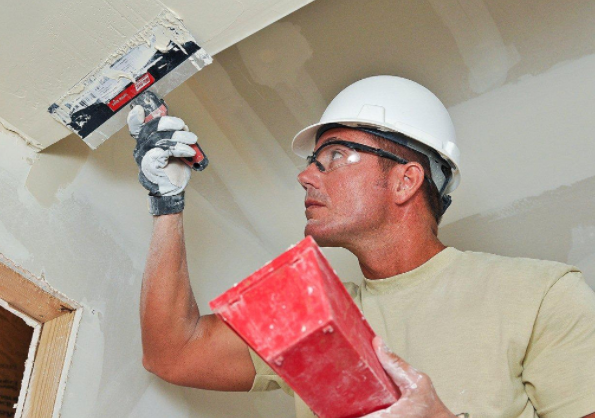
Joint Compound (AKA mud or drywall taping mud) is a tool that every dryliner should be able to use. In this article we explain exactly what jointing compound is and how to use it like a pro!
What is a Jointing Compound & What is Jointing Compound Used For?
Put simply, Jointing Compound is a white powder material, mixed with water, that is used for skim coating walls and ceilings.
It’s also often used as an alternative to traditional plastering to finish joints, corner beads, trims and fasteners.
Essentially, Joint Compound can help hide seams along walls leaving them ready for painting.
Jointing Compound is incredibly easy to apply, requiring only a small amount of effort when you’re using drywall tape alongside it.
It can be used to hide just about any type of seam along a wall, even corners where the walls meet.
During the taping process, you will no doubt have to use joint compound when building or decorating.
If you’re a plasterer then joint compound will naturally be something you’re familiar with in your day to day life but, whether you’re an expert or a beginner, this article should help explain some of the key uses for Joint Compound and how best to use it.
For example, asides from the previously mentioned uses, Joint Compound is commonly used in hanging drywall for new or remodelled homes.
This is because application is super simple, usually never more than just a few coats.
Joint compound can get rid of almost all blemishes from the surface of drywall including damage, fasteners, drywall tape, holes, bumps, tears, and other minor damage.
It can also be used to finish gypsum panel joints, corner bead, trim and fasteners, as well as skim coating.
What Jointing Compound should I use?
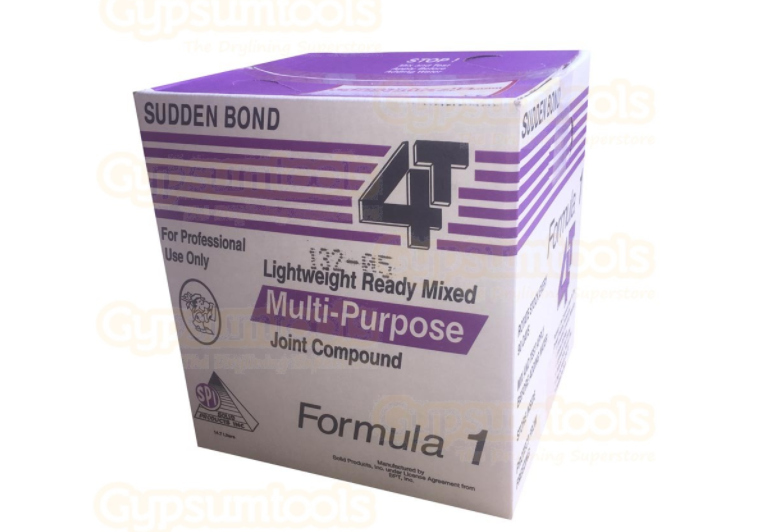
When using Jointing Compound, one of the first decisions you have to make is whether you choose Ready-mixed lightweight jointing compound or the powdered joint compound.
Whilst premixed can sometimes be slightly more expensive, it’s designed for fast application and easy maintenance. It can be more forgiving than its counterpart, can be used for as long a period of time as needed and does not dry up as badly.
Benefits of Premixed Jointing Compound?
We’ve already highlighted a few of the benefits of jointing compound, but let’s summarise the complete list of what makes premixed Jointing Compound so useful:
- Save time – No water supply needed
- Saves money – Get the job done quicker, so you can start the next one!
- Saves effort – 30% lighter than traditional plaster
- Enables an excellent finish – Less clean up required as there is less dust and mess
How do you mix joint compound?
Always read the label before mixing your Joint Compound and find out how much water you’re meant to use with the mixture.
Excessive water can dilute and ruin the compound whilst too little water will make the compound to thick and gloopy.
Don’t mix in a bucket that’s filled to the brim as it will splash out and go all over the place! Add 1 or 2 gallons of Joint Compound and place it into an empty bucket followed by a small amount of water. This allows you to add more if needed. Remember, you can’t take the water out once it’s poured in!
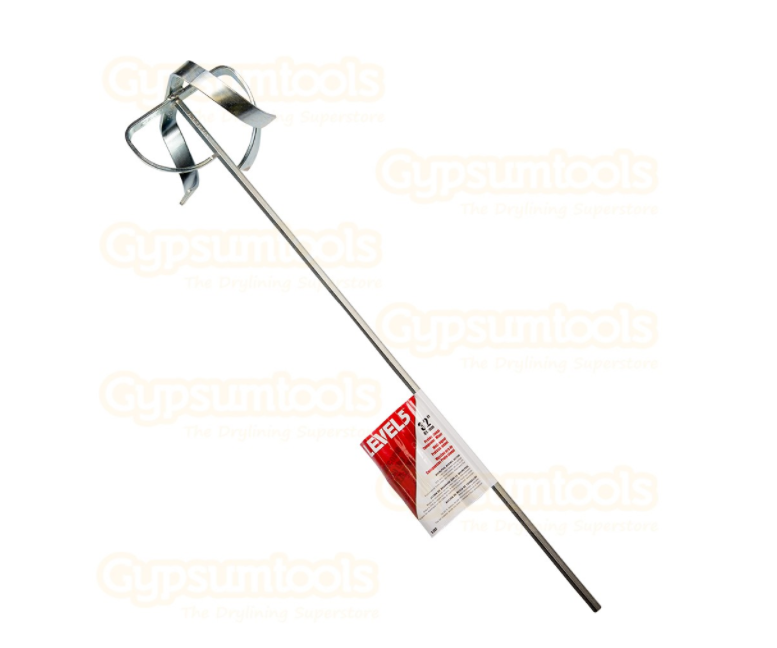
The best advice is to use a mixing paddle rather than by hand as it can be incredibly tiring and hard work. Make sure to hold the bucket tightly with your feet when using the paddle and you know you’re done when the compound is the same texture as warm cake icing.
How to Use Jointing Compound?
Finishing drywall involves typically three to four days of work and a great deal of joint compound. The type of joint compound you use to smooth seams and cover nail holes will depend on the size of your room and your level of experience.
The entire process from taping to finishing the final coat can take four days, because of the drying times of the joint compound. Make sure you have allowed enough time to finish each step completely before starting the next.
Repairing Damaged Drywall
From the smallest, minor dents to large, major holes, there are several ways to fix damage to your drywall.
No matter how big or small a hole is, it’s something that needs fixing and you can’t simply paint over it straight away.
Whilst drywall is relatively simple to install and easy to repair, It’s also very easy to repair drywall badly and make your whole project look unprofessional.
Whilst most drywall repairs are simple, consisting of patching holes, filling dents, and embedding popped nails, some can be more complex. Here’s a basic lowdown on how to fix a drywall hole:
- Remove the Affected Drywall – Use a framing square to mark a square around the damaged area & use a utility knife to score along the outline to remove the drywall square with damaged areas. Check for electrical cords and plumbing lines where you plan to make the cut.
- Create a Drywall Patch – Use the detached piece as a guide to trace out an identical square of new drywall. Use a utility knife to cut out the slab of drywall making sure it is the same thickness as the drywall already present.
- Install the Patch – Apply your joint compound around the edges of the patch and put it into place. Using a putty knife, add a layer of joint compound around the seams of the patch, making sure to fill every gap before leaving to dry for 24 hours.
- Sand and Paint – Sand the joint compound until it is level with the rest of the drywall. Sometimes the compound can shrink or become uneven. If this is the case then you will need to apply another coat of compound. Once dry and sanded adequately, you can then finish up the job and make the drywall beautiful by adding a touch of paint!
For more information on Drylining, Plastering tips & tricks and much more, head on over to our blog


