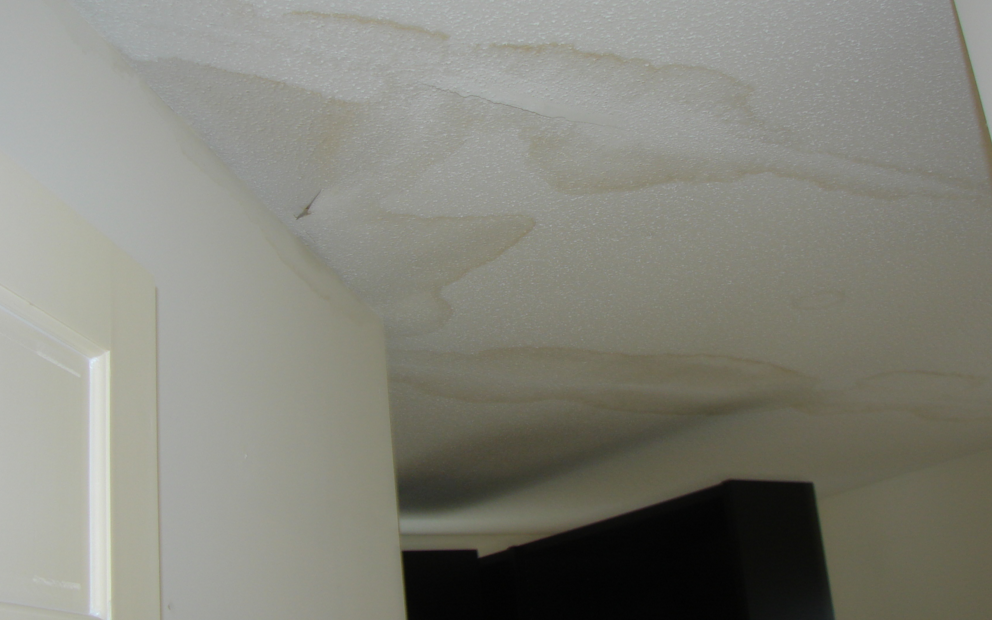

When your ceiling is damaged by water, not only can it become unsightly, but it can also become dangerous in weakening the structure of the ceiling and even lead to the formation of mould if it’s left for long enough.
Whether the damp ceiling is caused by a burst pipe, hole in your roof or even a bath overflowing, it’s always important to get the damage fixed as soon as possible to prevent any further and more costly problems occurring down the line.
If you’re wondering how to repair water damaged ceiling plaster yourself, we have a few handy hints that you could try.
Steps to repair the ceiling
Before you even begin your steps to repair the ceiling, the very first thing that you should always look to do is to stop the leak or whatever is causing the water damage to your ceiling. So, repair the burst pipe, fix the roof, or turn the bath taps off! Then, you’ll need to make sure that it’s all dried out where the water has come through, so look to use heaters or towels, whatever works for you.
After the patch is dry, you’ll need to scrape off any loose materials or paint and remove all the damaged bits. Then you can coat all of the stains with primer or sealer.
While the primer is still wet, look out for any spots of loose paint that you might have missed and catch them before it dries. Clean all debris away and complete your priming, then once the primer is dry, scrape of any further debris with your knife.
After that it’s time to apply the first coat of joint compound or mud over the damaged area and when the mud is dry it can be lightly sanded to achieve an even surface. Once you’ve wiped it over lightly with a damp rag to remove the sanding dust and allowed it to dry once more, you can apply the second coat of joint compound and, as with the previous step, sand it again when the mud is dry.
After you have wiped the sanding dust away again you can cover the area with another coat of primer and then when the primer is dry, touch it up with some finish paint for the final result!
Plastering kit you might need
Before you start, you might find it useful to have the following already to hand:
- Putty knife
- Joint compound
- Drywall or plaster (if there are big holes in the ceiling)
- Sandpaper
- Towels or fans to dry the ceiling out
- Paintbrush
- Primer
- Paint
- Vacuum cleaner – for removing the dust that’s caused.
Order from Gypsumtools today
If you would like to find out more about the type of kit you need for repairing water damaged ceiling plaster, or, to take a browse through the products we have available to help, either take a look at our website and order from Gypsumtools today or get in touch.