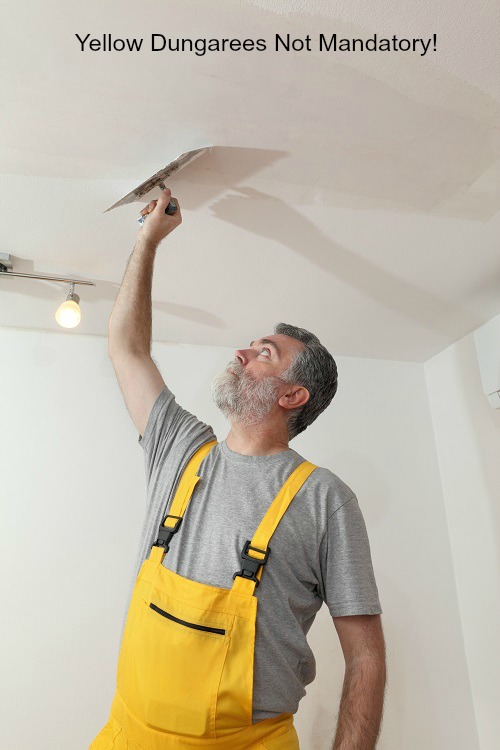
We all know that plastering can be a tricky job that takes time, effort and lots of practice – and plastering a ceiling can be one of the trickiest jobs to do.
However, with the right know-how and tools in place, plastering a ceiling can be completed by plasterers and DIY enthusiasts alike.
So, if you’re wondering how to plaster a ceiling, we’ve got some great tips from the trade! And remember, if you need to know more, our staff are always on hand to offer help and advice, just give us a call…
Once you’ve got the right tools and your plaster is mixed up correctly, you’re ready to go!
Step 1
Keeping your hawk tilted towards you, confidently scoop some of the heap of plaster from your hawk onto your trowel with one swift and smooth movement. Starting a couple of inches away from the edge of the ceiling swoop the plaster across the ceiling as quickly and confidently as you can, keeping the thickness even.
Step 2
When you first apply your trowel to the ceiling, start with one edge of the trowel angled away from it, then as the plaster on your trowel gets less and less with your movement, the angle between your trowel and the ceiling gets smaller. As you move you push the trowel flatter and flatter, until it is flat against the ceiling once the plaster has been used up. Just make sure, as you go along, that the plaster doesn’t spill over the edge of the trowel!
Step 3
You can then come back over the area that you’ve just plastered to flatten it, using a firm pressure and working the surplus plaster into the edges between the wall and ceiling. By not starting at the edges straight away you will avoid lumps of plaster clumping in the corners.
Step 4
Then, once you’ve reloaded your trowel, apply the next sweeping movement which slightly overlaps where you have just been before. The important thing with the first and second coat of plaster (and it’s a good idea to apply a second coat) is to ensure the ceiling plaster thickness is even. You don’t need to worry too much about trowel marks at this stage.
Step 5
The ‘trowelling up’ process then begins – here is the time to get your surface nice and smooth. If the plaster has just started to set and go a bit tacky, it’s time to remove your trowel marks. Concentrate on the main areas of your ceiling, rather than spending too much time around the fiddly bits such as pipes and architrave. Just keep an eye on how long the plaster is taking to set, so you can ensure you fit in doing those bits as well, to achieve a good finish with a smaller tool.
Step 6
Using your float you can now move it along the ceiling and it should naturally move the plaster from the thicker spots to the thinner spots for a nice even finish. Any surplus plaster can also be wiped off onto your hawk.
Step 7
And for the final, beautiful finish, once the plaster is setting hard, apply clean water to your ceiling with a wide brush, following closely behind with your float.
Plaster Ceiling Material Needed
• Mixing bucket and paddle
• Plaster
• Plasterer’s trowel
• Plasterer’s float
• Bucket trowel
• Mask and goggles to protect the eyes and mouth
• Bucket of clean water
• A wide brush
• Smaller tool for smoothing plaster around pipes and architrave
Technique for plastering a ceiling
Not only does plastering a ceiling take confidence and practice, but you’ll also need to ensure you’ve got the right technique for plastering a ceiling. Here are a couple of tips, which may help:
1. Find the height that’s right for you, so you can comfortably and confidently apply the plaster to the ceiling with a firm even pressure. Aim to stand with about a splayed hand’s width between the top of your head and the ceiling, so, if you’re not tall enough, perhaps look into installing some form of scaffolding or stilts.
2. A great tip is not to stand directly under the trowel once you’ve started applying the plaster to the ceiling, to avoid getting plaster in your eye – not a pleasant experience.
3. It is also possible to plaster a ceiling over artex, you’ll just need to apply a thicker coat of plaster.
If you have any queries or concerns at all, whether it’s regarding the plastering kit you need or where to start, just give us a call and we’d be happy to offer help and support.