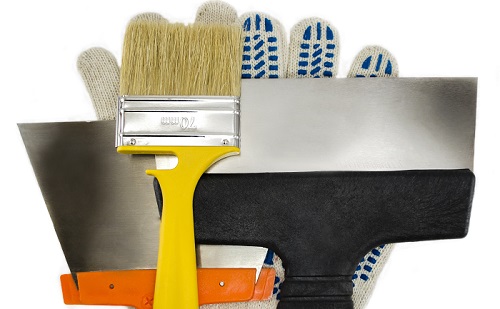
When it comes to a specialist trade skill like plastering, it’s no secret that having the right tools can make a world of difference.
Not only do the best plastering tools save time on the job, they also deliver a better end result and can give your project that extra touch of quality. From trowels and snips to drills and saws, we’re going to run through what the team here at Gypsumtools believe to be the top 10 must-have plastering tools for any industry professional:
1. Finishing Trowel
In a similar way to the pointing trowel, the finishing trowel is another crucial tool in any plasterer’s kit. It utilises a wider, flatter blade to smooth out the plaster more effectively and provide that exceptionally smooth finish to all your surfaces. This is a tool you’ll be using a lot so it makes sense to invest in a high quality tool like the RST SS Finishing trowel.
2. Window Trowel
When you can’t use your other larger trowels around windows, most plasterers will reach for their window trowel. As its name suggests, this tool is specifically designed for use around windows thanks to its smaller blade face which gives you better manoeuvrability across the wall in tighter spaces. An important tool if you work on a lot of residential projects.
3. Inside and Outside Corner Trowels
Yet another crucial tool in the professional plasterer’s kit – the corner trowel. Instead of tackling the complexities of finishing your corners with a more traditional trowel, corner trowels allow you to smooth out your plaster with accuracy and simplicity. Save time on site by reaching for your inside and outside corner trowels instead of trying to get by with a traditional flat blade.
4. Mortar Stand
This is one you might consider obvious, but again it’s another simple accessory that can make life on site that little bit easier. A mortar stand is a small foldable table that you can use to hold your plastering material or grout, giving you that ease of access whilst working. Don’t overlook the simple tools as they can make a big difference!
5. Bucket Trowel
One of the key items in any plasterer’s arsenal is the trusty bucket trowel. This tool is commonly used to scoop plaster up out of your mixing bucket and onto your plastering hawk. Because of the weight involved when transferring the plaster, you’ll need a strong and robust bucket trowel as part of your kit. This really is a must-have tool.
6. Mixing Bucket
Similar to the mortar stand, a bucket will have multiple uses when working on a project. In most cases, you’ll want a decent size bucket – at least 15 litres should be sufficient depending on your specific requirements. Before you start any plastering job, you’ll need to keep your bucket clean and dry prior to mixing any plastering materials.
7. Hawk
If you don’t already have a plastering hawk, you’re not doing it right! The number one must-have tool for any professional plasterer, the hawk is a portable surface where you can hold your plaster material when on the move. It allows you to apply your plaster quickly and easily across both walls and ceilings. There are a wide range of plastering hawks available varying in sizes but you’ll want a clean surface with rounded edges just like this Nela option.
8. Snips
Having a reliable pair of snips is always important in modern plastering, primarily because you’ll likely need to trim and cut your beading. Make sure the snips you choose have the ability to cut both popular types of beading metal – cold steel and stainless steel. Also, having longer handles on your snips can give you better leverage and make the task of trimming up beading much easier. All plasterers should have a durable set of snips as part of their kit.
9. Plasterers Float
When you’ve added the final layer of plaster to your wall or ceiling, you’ll need to give it one final pass over with a plasterers float to give it that all-important smooth, high quality finish. This is another very important tool that should be carried by all plasterers as without it, you won’t be able to smooth down the top layer of plaster and you could see your surface end up uneven.
10. Scarifier
The final tool on our list is the scarifier – a large metal comb that allows you to scratch away at the render before applying your second coat. The scarifier is an important tool for any plasterer as it gives you the ability to comb lines directly into the render which will create a stronger bond when the next layer is applied. If you want a high quality finish on your walls and ceilings, we’d definitely recommend investing in one of these.
So there you have it! Add this list of plastering tools into your kit and you’ll be ready for any challenge the job can throw at you.
Looking for a great way to get all the tools you need in one place? Our range of apprentice plastering kits are perfect for budding plasterers looking for top quality tools!
Get in touch for more information on our full range of plastering and drylining tools.

