The Ultimate Sanding Guide For Beginners

Full Circle Air Radius 360 Dust-free Sanding System

Let’s make it easy for you to start sanding if you’ve never really learned how.

To start with, choose the right sandpaper – coarse or fine. Coarse has larger aluminium oxide particles, which means you’ll be sanding faster and with more aggression. When you’re ready for the finishing touches, you’ll want to go for a fine grit paper. Be patient with it, and you’ll be polishing the surface to a lovely smooth end product.

You can use paper on its own of course, or wrapped around a block for more stability. If you have a larger area to sand, it’s worth using a tool, such as an orbital sander, which also have a dustless system keeping you safe.

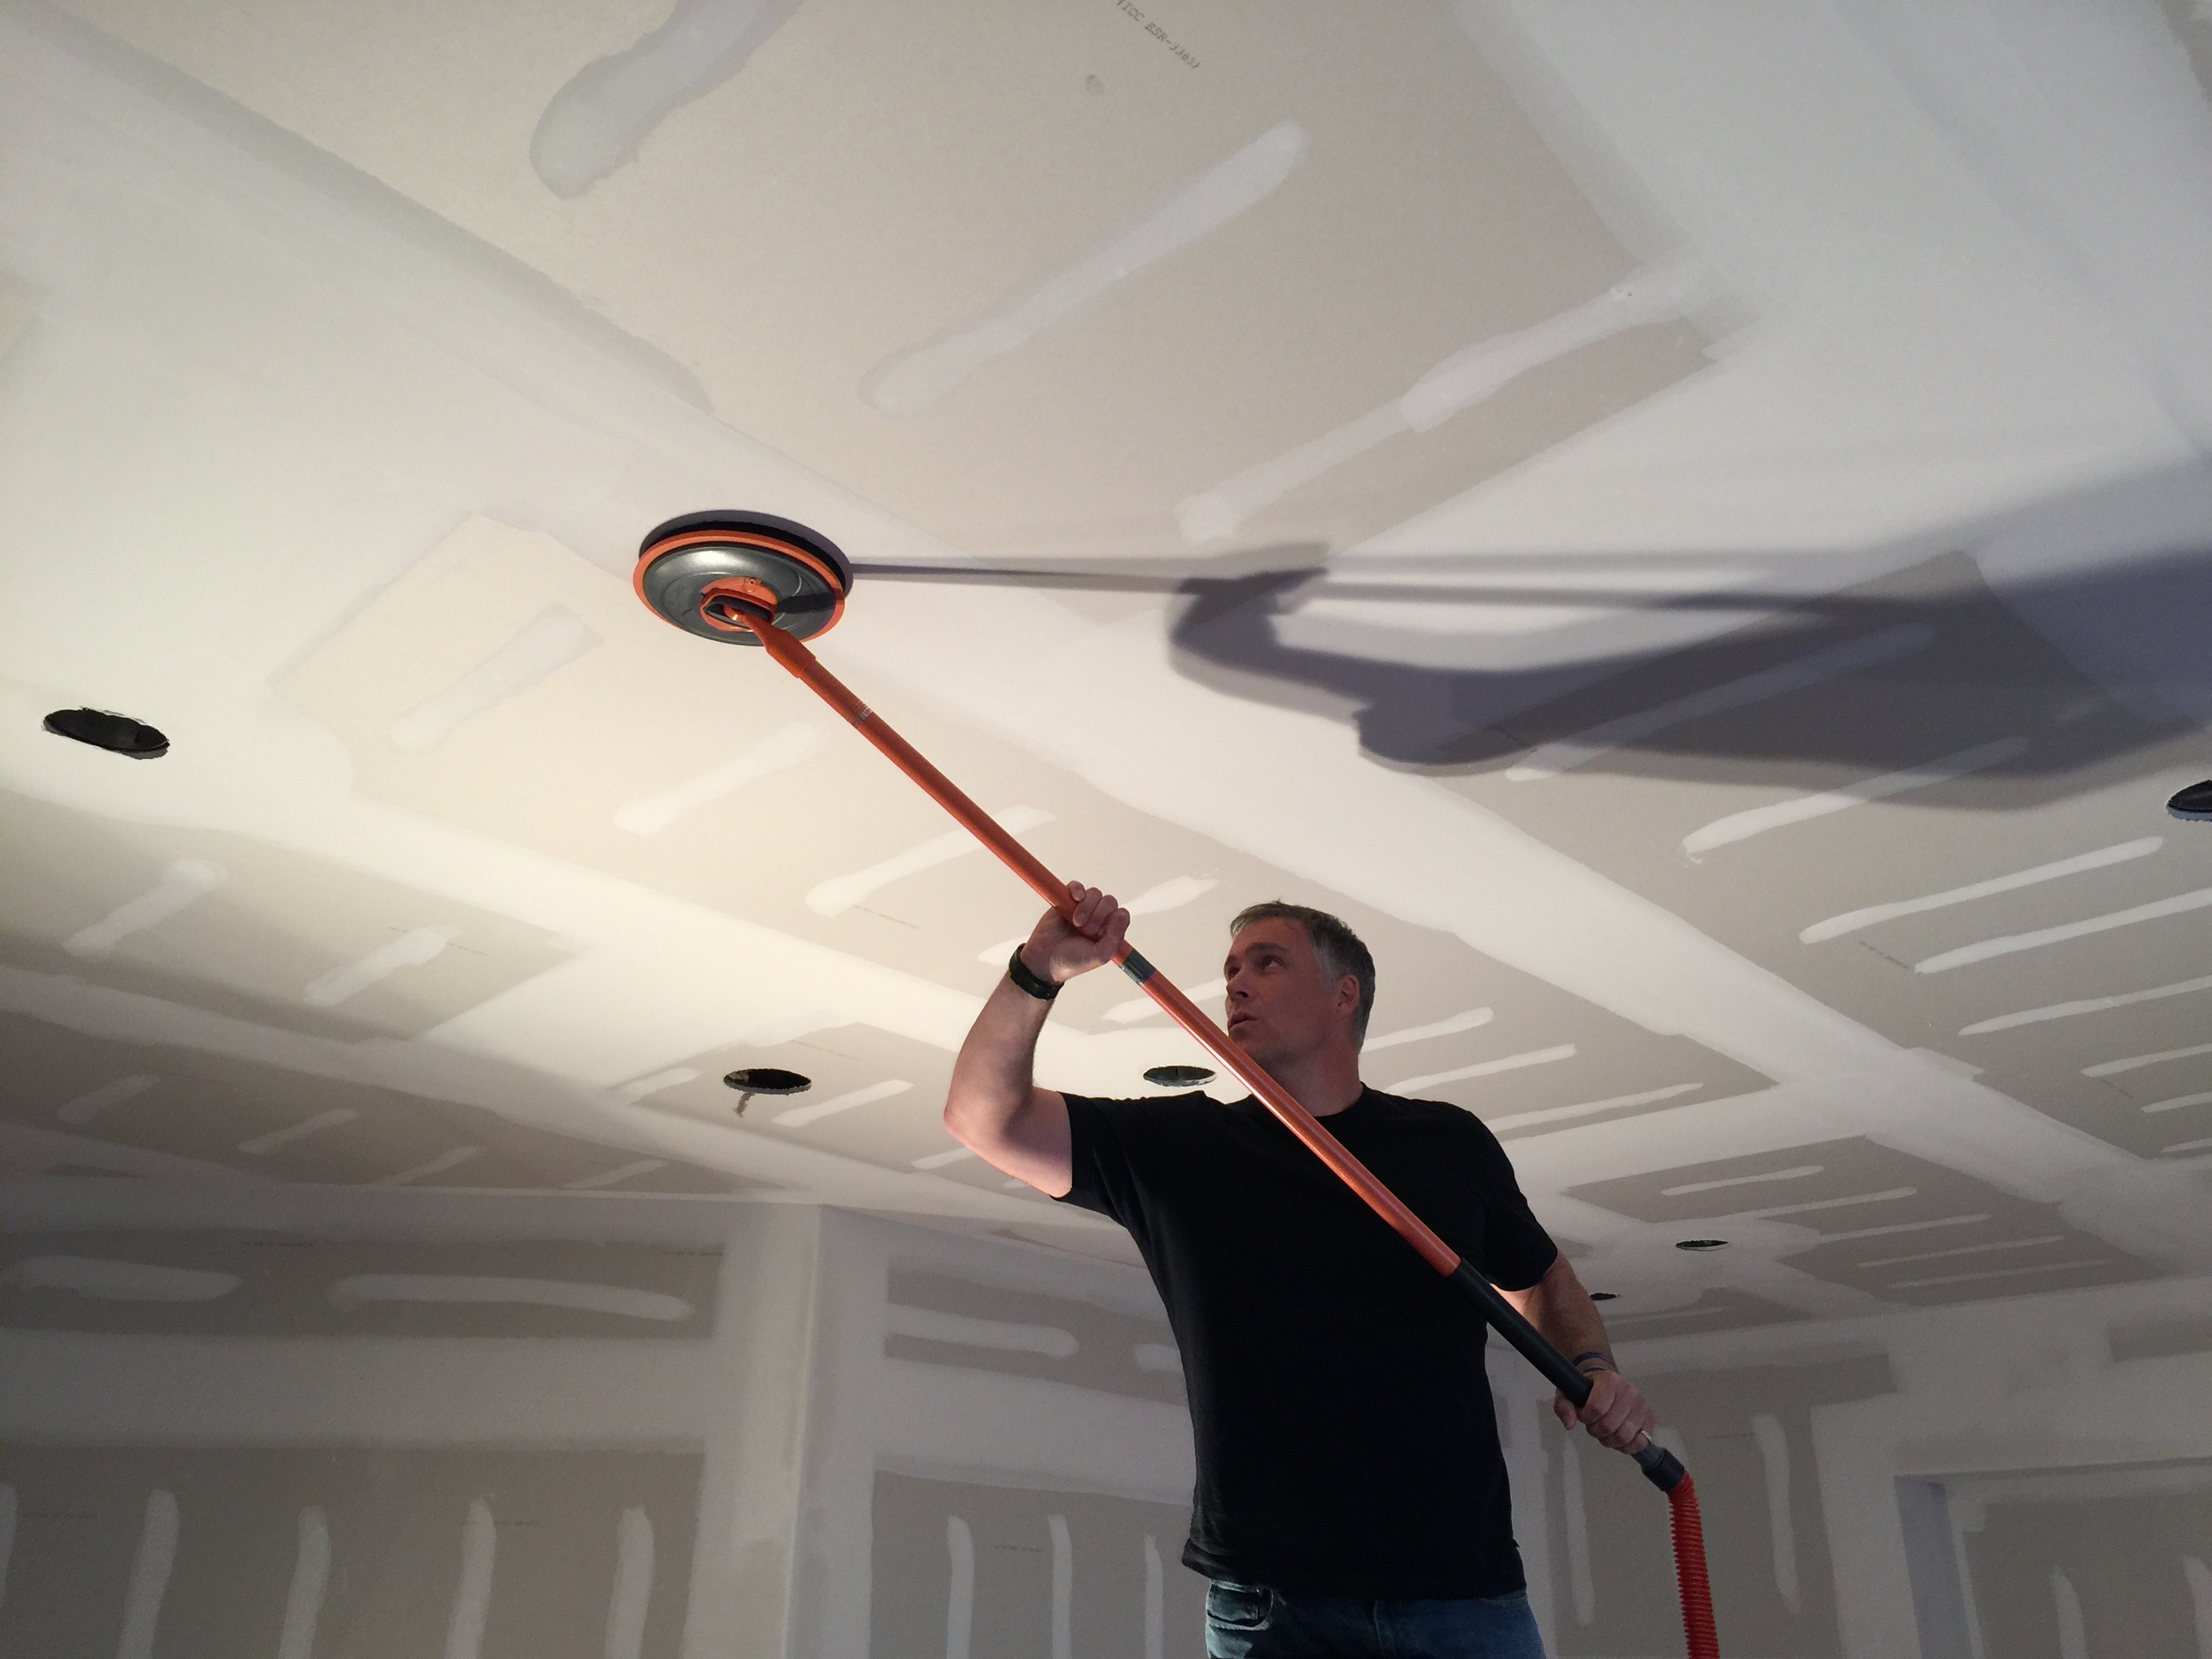
Sanding tools can be fitted with all kinds of accessories, depending on the surface you’re sanding. A sanding disc, for example, isn’t as heavy duty than a sanding band. An abrasive brush will work on a surface layer without causing harm below that surface. Perfect for sanding down drywall after yoru taping and jointing.

Take care, because sanding inevitably creates dust in the air, which isn’t nice to breathe in anyway, but especially when you know some of those particles could be toxic. A face mask is a great way to keep the dust inhalation to a minimum, and plastic goggles are a good idea to protect your eyes, safety first!

This is also applicable when cutting drywall to the size you require. When using a drywall jab saws and rasps to smooth off your edges, remember to wear the relevant PPE to protect yourself. Also make sure you’re wearing gloves to keep your hands safe.

A vacuum cleaner is going to be vital, to avoid particles make their way into your paintwork or accumulating in the area you’re trying to clean. Give it a vacuum to remove most of the sanding dust, and then with a damp cloth give it a bit of a wipe to finish it off.

Everything you need is available from the Gypsum Tools site. We stock a range of sanding tools and accessories, including heavy duty kit such as the Giraffe Wall & Ceiling Sander, which has full safety features, as well as speed selection controls.If you’re working on some drywall sanding and you want a more manual approach, the Full Circle Flex Edge Multi-Layered Drywall Sanding Tool is going to be perfect. Or if you’re simply DIY’ing we have loads of sanding blocks and more.

We sell foam replacement pads for this type of project, as well a range of sandpaper sheets. But even if you’re planning a small scale sanding project, we can help you with hand sanders, and sanding tools and supplies to fit the job. Just let us know exactly what you need and we’ll be happy to help!

How To Repair A Damaged Plaster Wall

Plaster Wall Repair

Keeping your home looking great can be a constant challenge as you fight against cracks and holes appearing all over the place. Repairing damaged plaster can often be high on your list, but thankfully it’s a task that can be completed successfully by a skilled DIYer.

As homes age, it’s only natural for things to become a lot more susceptible to deterioration. This is particularly common in older buildings that still have walls or ceilings made from plaster rather than the now standard drywall or wallboard.

When you come across damage to a wall in your home or patches of loose plaster, you’ll need to repair the area before you can start painting or wallpapering – keep reading to learn how!

First things first, make sure you’ve got all the necessary tools to get the job done: check out our comprehensive plastering tools checklist.

To repair a crack…

Before getting started, make sure the floor under the crack has been covered with a protective dust sheet and this has been secured with painter’s tape. This will ensure the floor isn’t damaged by any spilt plaster or joint compound, as well as making the clean-up a lot simpler.

Once you’re prepared and ready to go, start by inspecting the crack and removing any loose pieces of plaster if there are any. You can also use a damp rag or cloth to wipe away dust or small debris to ensure the crack is clean for repair. The next task is to dampen the immediate area around the crack with a spray bottle of water to ensure the surface is ready to be repaired.

Then following the manufacturer’s instructions, mix up your plaster or you could used (ready mixed jointing compound) in a large bucket and pour this into a mud pan. From here, apply a thin layer of plaster/jointing compound directly over the crack with a plastering knife or jointing knife as they are commonly known and make sure the finish sits level with the rest of the wall.

Thankfully, repairs to cracks generally only require one layer of plaster or joint compound, so just allow this to dry over the next 24 hours and check when the plaster has set. If you’re short on time, why not add our plaster accelerator to the mix.

Safety note – whenever you are dealing with plaster, make sure you wear the appropriate safety equipment including clothing, footwear, goggles and also a mask to prevent dust inhalation.

The last step once the plaster or joint compound has dried successfully is to sand and smooth the area down ready for decorating. Take a piece of fine-grit sandpaper and simply sand the jointing compound down until the finish is smooth and level with the existing wall.

Once you’re happy, wipe the area with a damp cloth to remove any dust and allow this to dry fully before painting.

If you prefer, you can also use a joint compound to patch a crack if the damage isn’t too severe. Just smooth a small amount directly onto the crack, allow it to dry and then sand down before painting or wallpapering.

To repair a hole…

In most cases, when you come across a hole in your wall, you’ll need to start by removing any damaged plaster using a hammer and chisel to chip away and smooth out the area.

Take care here not to chip away too much plaster or hit too hard as you may damage the plaster even further. As a final step, smooth the edges of the hole as required with a utility knife.

When the plaster is prepared and dry, use a paintbrush to apply a layer of bonding agent to the exposed plaster. This will allow the plaster or jointing compound you’re about to apply to bond correctly with the rest of the wall.

After mixing up your plaster in a bucket, the first coat should be applied using a putty knife. For the second coat, you’ll need to cross-satch the first coat of plaster as it begins to set – this means scratching or scoring the plaster with a putty knife to create shallow grooves which help the two coats of plaster bond together more effectively.

Once this first layer has dried for 24 hours, dampen the area with a spray bottle of water and repeat the process. Again, let this new layer dry for a further 24 hours.

To complete the repair, you’ll need to apply joint compound on the newly dry plaster layer. Smooth this out to reach around 3” wider than the hole to create a thin veil across the wall, blending the old plaster in with the new. Once this is dry, grab your fine-grit sandpaper and smooth the entire area down.

It’s at this point you can prime the area and prepare it for painting or wallpapering.

So there you have it, two step-by-step methods to repair the most common types of plaster damage in your home. Follow our guides and you can’t go wrong, but if you do need more guidance, here’s a video version of the process.

The Ultimate Drylining Guide

Dry lining is a great way to give a smooth finish to surfaces enabling you to decorate them right away.

However, there’s a bunch of skills you need to learn, tricks & tips to master and tools to consider before approaching your first project.

That’s why we here at Gypsumtools have created this Ultimate Drylining Guide to help you through every step of the way!

Think you have an article that we should be referencing? Get in touch