Here, at Gypsumtools, we know that many of you are looking to perfect your plastering finishing technique. That’s why we’ve put together some expert plastering tips to help you out. With these in mind, you will be professionally finishing a wall every time.
Our top tips
- Our first tip that any plasterer worth their money will tell you, is any surface waiting to be plastered needs to be clean and any previous bits of wallpaper need to be removed to ensure a secure, smooth finish.
- It’s vitally important you check out and then appropriately manage the suction of the wall as it can make all the difference between the right result and a poor finish.
- Exceptionally porous masonry will cause the plaster to dry out too fast, which can lead to potential issues with the finish as you probably won’t have time to flatten out. If this is the case, wet the wall before you start to safeguard against the plaster falling away.
- Low suction walls won’t suck the water particles out the plaster very quickly meaning the use of a bonding agent is required such as PVA diluted with a bit of water. Sand can also be added to the mixture to give added adhesion. The exact mix varies from plasterer to plasterer but 4:1 is a general rule of thumb.
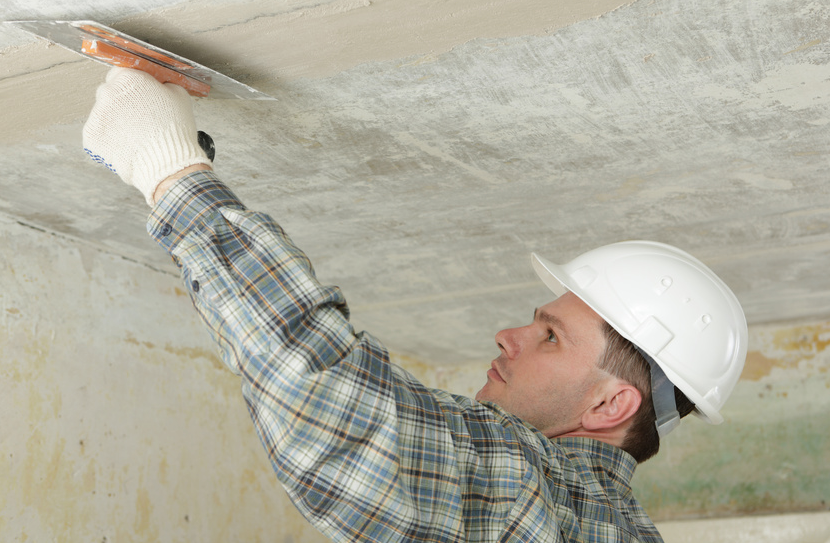
- Apply two coats of backing mixture and ensure it is flat. The skim finish can be smooth, but the backing mixture needs to be flat for this to happen.
- Ensuring your surface is ready to be plastered; plaster won’t stick to just any surface and you don’t want it to start falling away.
- We’ve said this before and we’ll say it again, “keep everything clean”! It makes all the difference as you don’t want your plaster to go off due to dirty buckets, trowels etc.
Plastering tips for the skim coat
As a general rule of thumb, there are six stages to applying the skim coat.
- start with an even layer / coating of around 2mm.
- When this coat has gone ‘tacky’, or when you cannot remove the whole covering with your hand, just a little bit, then run your trowel over flattening all the ridges and bumps that stick out over the original 1-2mm.
- Next, apply a second coat of as close to 1mm as possible.
- After that’s applied, trowel it so it’s nice and smooth and when ‘tacky’ go over every hole/dent and to get it as smooth as you can.
- Leave it for a while and as the plaster starts to harden most of the ridges/trowel marks will even out on their own.
- If there’s any issues such as blistering as the plaster drys they should sort themselves out.
Quality Plastering Tools Make the Difference
Good quality plastering tools make all the difference when it comes to the finish and they really don’t have to be expensive. If you find yourself needing a certain piece of equipment, check out our range online. We have one of the most comprehensive ranges of plastering tools on the market, and delivery is always quick and painless!
Contact us with any questions
If you need any more expert plastering tips or any other questions at all make sure you give us a shout. Our professional and courteous staff are always on hand to offer help and advice when you need it most.
3 Replies to “Expert Plastering Tips”