If you’re looking to try your hand at a spot of DIY plastering for the first time, then chances are you’ll also want the sort of smooth finish that the professionals get. After all, the last thing you want is to end up with an uneven wall that’s going to wind you up whenever you see it.
There is an art to plastering and a lot to be said for following the right steps to getting that perfect finish, so no cutting corners here!
In the 6 stages of plastering, each one plays an important part in getting good results at the end. So we’ve put together a handy guide which will talk you through them step by step.
Once you’ve prepped the wall for plastering, controlled your suction so that the plaster doesn’t dry too quickly and you’ve mixed your plaster, it’s time to get started on the six stages.
Stage 1
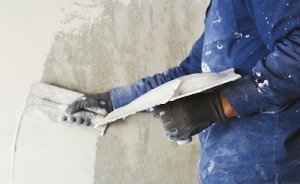
This is where you apply your first coat of plaster, which should be about 2mm thick. When you’ve loaded the plaster onto your trowel start at an angle with the leading edge of the trowel away from the wall, moving the trowel in a long motion, gradually flattening it to the wall as you go. On this first coat it’s more important to try and get a flat even coat with no bulges, don’t worry too much about any trowel marks or ridges because these will come out later.
Stage 2
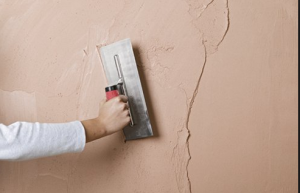
As the plaster begins to firm up this is when you can flatten off the first coat with a clean trowel, making sure that the bulges are pushed out. The secret to this (as with the majority of plastering) is to use firm pressure as you move your trowel across the wall in long movements, holding the leading edge of the trowel at about 10-15mm away.

Stage 3
Straight after you’ve finished stage two, the second coat of plaster is applied. It’s very similar to the first stage, but this time you’re only using half the plaster, applying half the thickness and even firmer pressure to try and reduce any holes in the plaster that might be caused. If you do create holes don’t worry too much, hopefully the next stage will get rid of them. The main reason for not spending too much time trying to fix the holes at this point is because you don’t want parts of your plaster to dry while you do.

Stage 4
This is where you can trowel the plaster flat and remove any holes. Hopefully the plaster will be tacky and pliable enough to be pushed around into the holes, although make sure it isn’t too wet or this could create more. Again remember to run the trowel over the wall at the correct angle of around 10-15mm and reduce the risk of any dragging or scraping. Use firm pressure and don’t worry too much about any ridges that are caused as these can be removed in the next step. As you go over the wall look closely for holes and if some aren’t filling despite the pressure of your trowel, then more plaster can be applied to the hole and flattened. While it’s important to get the majority of holes filled at this stage, again don’t take too much time over it and let your plaster dry.

Stage 5
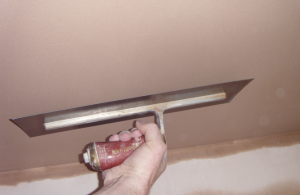
This is where you remove any ridges in the plaster by using firm pressure with your trowel. If the plaster is quite firm and not easy to push around you can widen the angle of your trowel against the wall, but be careful not to scrape the plaster off.
Stage 6
The final part of the six stages of plastering should leave you with a nice even slightly polished surface. It begins when the plaster starts to darken as it dries. This is where you can run the trowel with a firm pressure over the entire wall to finish. And you’re done!
Recommended Products
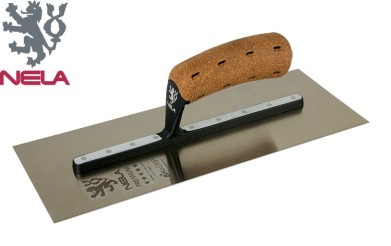
A NELA Mediflex Trowel 14 Inch for ONLY £30.66!
You’ll need a bucket to mix your plaster too – here’s one of our best selling Buckets, 38 Litres for ONLY £4.50!

And a Bucket Scoop to get the plaster onto your trowel, this Putz Bucket Scoop is great value for money at ONLY £8.04!

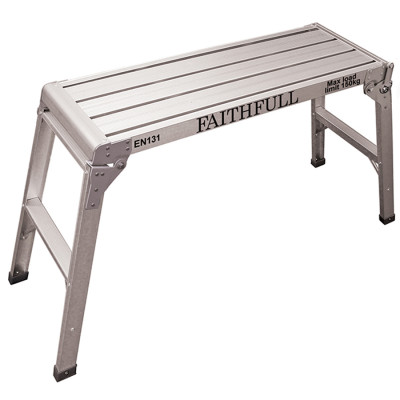
What about getting to the harder to reach places? Check out this Faithfull Step Up that folds away for storing too ONLY £41.99!
For more advice on plastering techniques and products, please do not hesitate to contact us!
One Reply to “The 6 Stages Of Plastering”